Winter Boondocking: The Systems-Based Guide to Off-Grid RV Living Below Freezing
By the Boondock or Bust Team – Based on five consecutive winters of off-grid testing in locations from Arizona’s high desert to Colorado’s 10,000-foot elevations. Updated January 2025.
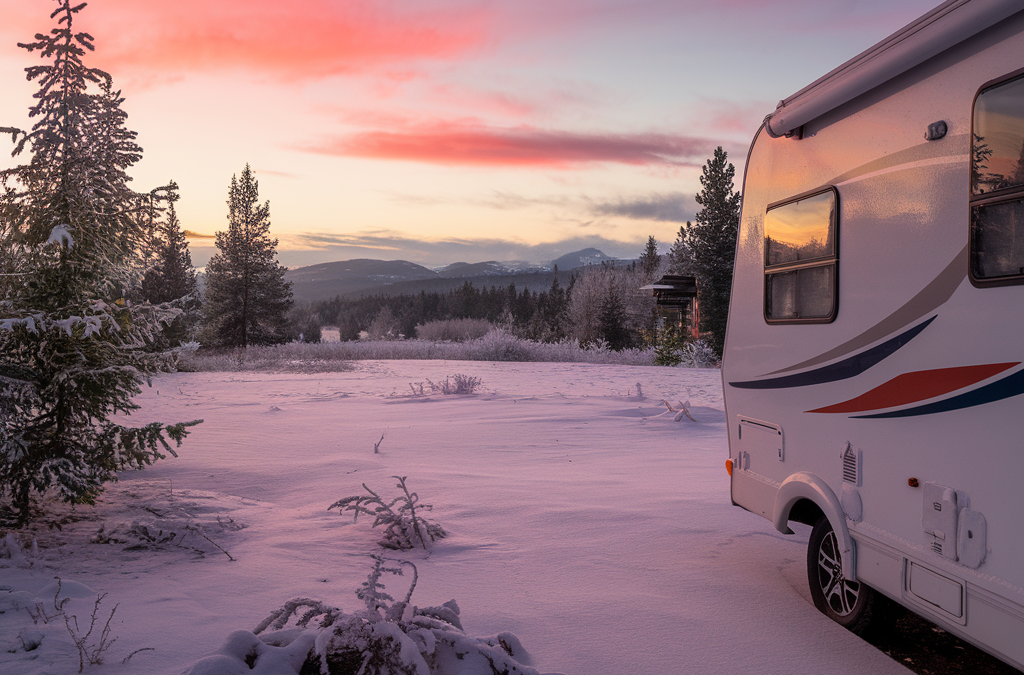
Picture this: you’re parked at 8,500 feet near Leadville, Colorado, watching fresh snow fall outside your warm RV while your morning coffee brews. The temperature gauge reads 12°F, but inside you’re comfortable, your water flows freely, and your power systems are humming efficiently. This isn’t a fantasy reserved for expensive “Arctic Package” rigs—it’s the reality of systems-based winter boondocking.
Most winter RV advice focuses on gear lists and expensive solutions. After five winters of off-grid testing, I’ve learned that successful winter boondocking isn’t about buying the most expensive rig or the latest gadgets. It’s about understanding how your RV’s four core systems—water, heat, power, and moisture control—work together as an integrated whole.
Understanding winter boondocking realities
Winter boondocking is camping off-grid when overnight temperatures drop below freezing, requiring systematic management of four interconnected RV systems rather than simple gear additions. This differs fundamentally from winter RV camping at hookup sites, where shore power and heated service bays eliminate most challenges.
Temperature Reality Check: Based on five winters of testing, here’s what each range demands:
32°F to 20°F: Basic system modifications work with careful monitoring
20°F to 0°F: Requires integrated system approach and backup protocols
Below 0°F: Demands comprehensive system mastery and continuous management
The conventional wisdom suggests you need a factory-built “four-season” RV to winter boondock successfully. My testing of three different rigs over five winters proves this assumption false. A systematically modified three-season RV often outperforms expensive Arctic packages because you control every modification based on your specific use patterns.
During my second winter near Moab, Utah, I learned this lesson the hard way. Despite owning a supposedly “winter-rated” travel trailer, I faced frozen pipes at 15°F because the factory modifications focused on parked RVs at hookup sites, not off-grid scenarios where you can’t plug in a heated hose or rely on shore power for tank heaters.
The winter viability audit framework
Your Four-System Winter Audit
Before your first winter trip, evaluate each system independently, then assess how they interact under stress. This audit approach has prevented failures across dozens of winter camping scenarios.
System 1: Heat Generation and Distribution
Can your primary heating source maintain 65°F interior temperature when exterior drops to your target low?
How much propane does your system consume per hour at various temperature differentials?
Do you have backup heating that operates on different fuel sources?
System 2: Power Generation and Storage
What’s your actual power generation capacity during winter conditions (shortened days, potential snow cover)?
How does cold weather affect your battery capacity and charging efficiency?
Can you generate enough power to run essential systems plus heating circulation fans?
System 3: Water Storage and Distribution
Which plumbing runs are most vulnerable to freezing in your specific RV layout?
Can you maintain liquid water in tanks and lines during your target temperature range?
Do you have backup water sources if primary systems freeze?
System 4: Moisture Control and Ventilation
Where does condensation form first in your RV during cold conditions?
Can you maintain adequate ventilation without losing excessive heat?
Do you have moisture removal capability during extended periods?
The audit process reveals why expensive “solutions” often fail. Arctic packages typically address individual components without considering system interactions. For example, a heated holding tank pad means nothing if your batteries can’t maintain sufficient power to run it continuously.
My comprehensive audit checklist has evolved through five winters of testing and now includes 47 specific evaluation points. RV dealers selling Arctic packages rarely discuss power consumption calculations or propane burn rates at different temperature ranges—critical factors for successful boondocking.
Real-World Example: During testing near Flagstaff, Arizona, at 7,000 feet, my “budget” system modifications (total cost: $847) kept me comfortable for six nights with lows reaching 8°F. Meanwhile, a neighboring $15,000 Arctic package rig struggled with power management and eventually fired up their generator continuously to maintain heat.
Zone defense heating strategy
Conventional RV heating wisdom says run your furnace and hope your propane lasts. Five winters of testing proves a different approach works better: zone defense heating that matches heat sources to specific needs rather than heating your entire rig uniformly.
Zone 1 encompasses your living space where you spend active time. Zone 2 covers utility areas like holding tanks and plumbing runs. Zone 3 represents the entire RV envelope for emergency heating or rapid warm-up situations. Each zone requires different heating strategies and fuel sources.
Safety Protocol: Catalytic heaters require fresh air exchange. Crack a roof vent or window slightly when operating. Install battery-powered CO and propane detectors. Never operate any propane appliance while sleeping without proper ventilation.
For Zone 1, I use an Olympian Wave-6 catalytic heater as the primary heat source. After testing both Wave-3 and Wave-6 models across multiple winters, the Wave-6’s higher output handles temperature swings better and provides backup capacity for extreme conditions. The efficiency difference is remarkable: my furnace consumes 0.8 gallons of propane per day maintaining 65°F when exterior temperatures average 25°F, while the Wave-6 uses 0.3 gallons for equivalent comfort.
Heating Efficiency Data (from 5 winters of logging):
1500W Electric Space Heater: about 125 amp-hours per hour at 12V before inverter losses, or roughly 140 amp-hours per hour at 90% inverter efficiency. This requires a properly sized battery bank, inverter, cables, and overcurrent protection.
Zone 2 protection focuses on targeted heating rather than ambient warming. I use 12V heating pads controlled by adjustable thermostats for holding tanks and critical plumbing runs. This approach consumes 3-5 amp-hours per day compared to 15-25 amp-hours for heated tank pads designed for hookup camping.
Zone 3 serves as backup and rapid response. Your RV’s furnace handles this role, but I use it strategically rather than continuously. When returning from outdoor activities to a 45°F interior, ten minutes of furnace operation brings temperatures to comfortable levels, then the Wave-6 maintains warmth efficiently.
Winter power reality: when solar isn’t enough
Solar advocates often claim that bigger panels solve winter power challenges. My testing across five winters in locations from sunny Arizona to overcast Idaho proves this assumption costly and potentially dangerous.
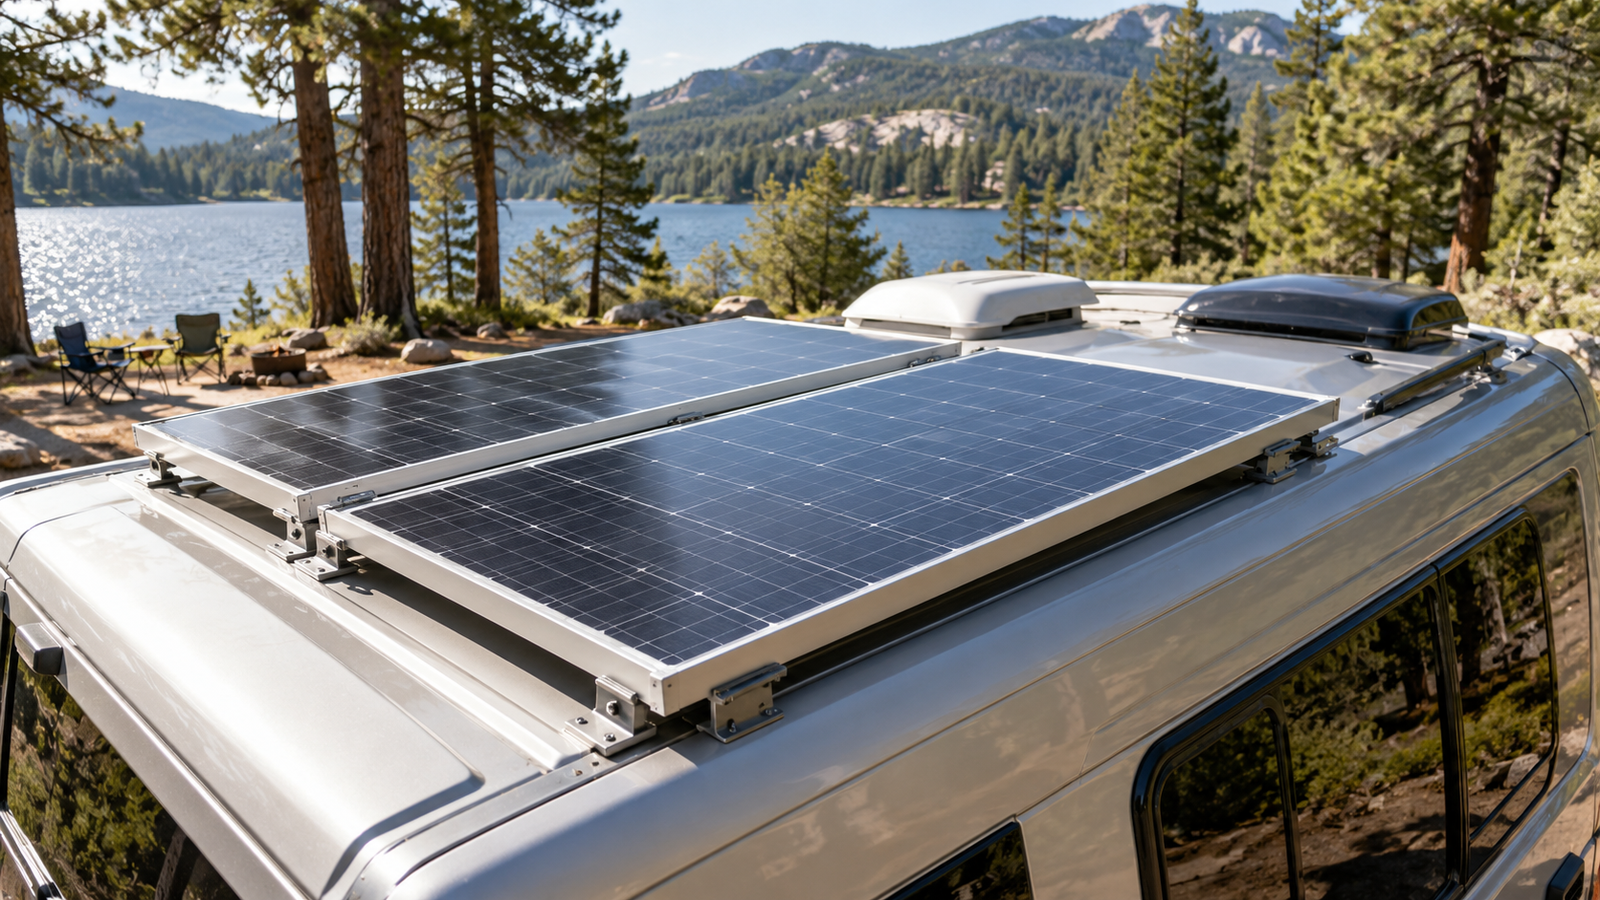
During a December week near Coeur d’Alene, Idaho, my 400-watt solar array averaged 0.8 amp-hours per day of useful charging due to persistent overcast conditions and 8.5-hour daylight periods. Even on clear days, snow accumulation and low sun angles reduced output to 30% of summer capacity. Without generator backup, I would have faced dead batteries and no heating within 48 hours.
Winter Solar Reality (Idaho December testing):
Clear Days: 25-40 amp-hours generation (vs. 120+ in summer)
Overcast Days: 0.5-3 amp-hours generation
Snow-Covered Days: 0-0.2 amp-hours generation
Daily System Draw: 45-65 amp-hours (heating fans, lights, water pump, electronics)
Battery performance compounds solar limitations, but cold-weather capacity and charging limits vary by chemistry and model. Victron’s battery-monitor guidance uses a typical lead-acid capacity reduction of about 18% at 32°F (0°C) and 40% at -4°F (-20°C), rather than describing lead-acid batteries as unusable at freezing. Many lithium batteries prohibit charging below a specified temperature unless approved heating and controls are present. Follow the exact battery and charger manuals, allow a cold-weather reserve, and never bypass temperature protection.
My power solution combines solar with a properly-sized generator rather than relying on either alone. A 2000-watt inverter generator can recharge a 400 amp-hour lithium system to 80% capacity in 3-4 hours while simultaneously running heating and other loads. This approach provides power security without the noise and fuel consumption of continuous generator operation.
Generator selection matters for winter conditions. Units with electric start eliminate pull-cord struggles with cold-stiffened equipment. Remote start capability lets you begin charging from inside your warm RV. I learned this lesson during a 5°F morning in Colorado when my pull-start generator refused to turn over until I warmed the engine compartment with a small heater.
Liquid gold: mastering onboard water systems
The biggest myth in winter RV advice claims you can’t use onboard fresh water systems below freezing. Five winters of testing prove this assumption wrong when you apply systematic protection rather than hoping your “winterized” system works without modifications.
The key insight from my Moab recovery experience: water system failures happen at connection points and transitions, not in main lines. Standard winterization assumes you’ll drain everything and avoid the system entirely. Boondocking winterization means keeping water flowing safely through strategic heating and insulation.
My systematic approach focuses on three critical zones. Zone A covers the fresh water tank and pump area. Zone B encompasses interior plumbing runs and fixtures. Zone C includes any exterior connections or exposed lines. Each zone requires different protection strategies based on airflow patterns and thermal mass.
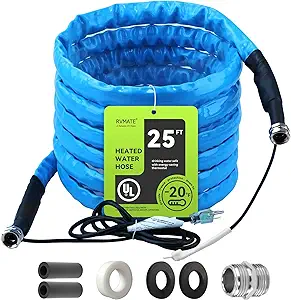
For Zone A protection, I use a combination of tank heaters and enclosure insulation. The RVMATE heated water hose system provides reliable freeze protection with built-in thermostats and improved insulation design. Unlike basic tank heaters that cycle constantly, quality systems like this maintain efficiency through smart temperature control.
Critical Safety Note: Use only 12V heating elements designed for RV fresh water systems. Automotive-grade heaters may contain materials unsuitable for potable water. Always use GFCI protection when connecting any heating element to prevent electrical hazards.
Zone B requires strategic insulation of interior runs, particularly around slide-outs and exterior walls. I wrap critical runs with pipe insulation, then add reflective barrier material in areas exposed to exterior walls. The goal isn’t perfect insulation—it’s slowing heat loss enough that your heating system can maintain temperatures above freezing.
My plumbing failure at 15°F near Moab taught me that water pump cycling creates the highest risk points. When pumps activate, they draw cold water through the entire system. I now pre-warm my fresh water tank before heavy usage periods and avoid letting the system sit stagnant during extreme cold snaps.
Water System Recovery Protocol (tested at 15°F):
Immediate: Stop using system, identify frozen sections, apply gentle heat
Thawing: Use hair dryer on warm setting, never open flame or high heat
Flow restoration: Open faucets gradually, check for leaks at all connections
Prevention: Add insulation at failure points, increase heating element coverage
Water conservation becomes critical during winter boondocking because system capacity drops and recovery from problems takes longer. I target 15-20 gallons consumption per day for two people, compared to 25-30 gallons in summer conditions. This reduction comes from shorter showers, efficient dishwashing, and strategic water heating.
The silent killer: proactive condensation control
Condensation destroys more RVs during winter camping than frozen pipes, but it gets far less attention in most guides. After dealing with moisture issues during my second winter, I developed a proactive management system that prevents problems rather than reacting to them.
The physics are straightforward: warm interior air holds more moisture than cold air. When that warm, moist air contacts cold surfaces like windows, walls, or ceiling areas, condensation forms instantly. In an RV, you’re generating moisture through breathing, cooking, showering, and even combustion from propane appliances.
My approach focuses on moisture source control first, then air movement, then removal. Source control means reducing moisture generation through cooking methods, shower duration, and strategic ventilation during high-moisture activities. I cook with lids whenever possible, take shorter showers, and always run the bathroom fan during and after showering.
Air movement prevents stagnant pockets where condensation accumulates. Even in cold weather, I maintain slight air circulation using 12V fans positioned to move air across potential condensation surfaces. The CDC recommends maintaining indoor humidity between 30-50% to prevent mold growth and moisture problems.
Condensation Prevention System (5-winter tested):
Source Control: Crack a roof vent during cooking, limit shower time to 5 minutes
Air Circulation: Run small 12V fans continuously, position for cross-ventilation
Surface Management: Insulate windows with reflective covers, warm thermal bridges
Moisture Removal: Use desiccant packs in problem areas, portable dehumidifier when power allows
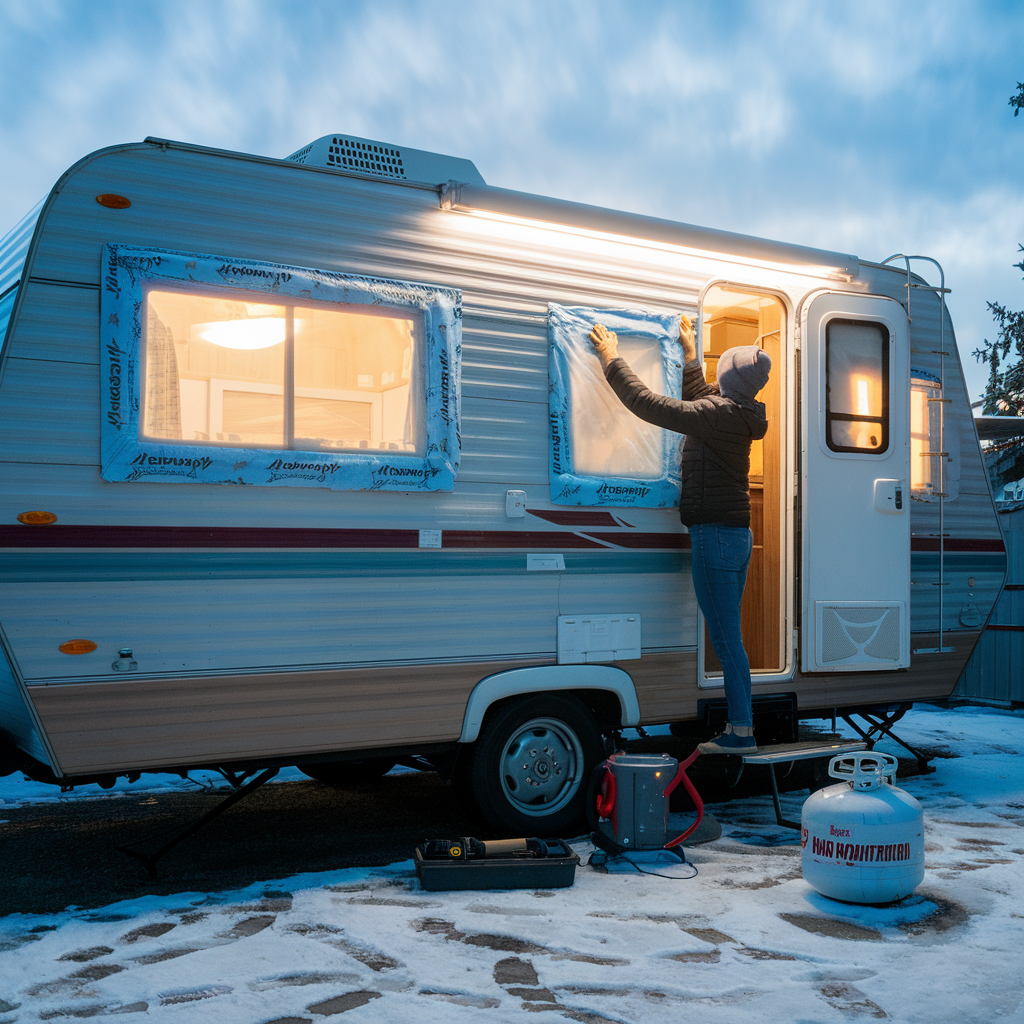
The most challenging condensation areas are windows and thermal bridges where interior metal connects to exterior cold. I use custom-cut Reflectix with magnetic strips for windows, creating an insulation barrier that prevents interior air from reaching cold glass. For thermal bridges, I apply foam insulation or reflective tape to break the cold transfer path.
Propane appliances generate significant moisture as a combustion byproduct. According to National Renewable Energy Laboratory data, burning one gallon of propane produces approximately one gallon of water vapor. This moisture must be managed through ventilation, or it will condense on cold surfaces throughout your RV.
Zone defense implementation guide
Implementing winter boondocking systems doesn’t require expensive professionals or factory modifications. My approach uses a Good-Better-Best framework that lets you build capability based on budget and technical comfort level while maintaining system integrity.
Good Level Implementation ($300-500 budget)
Essential modifications for occasional winter camping down to 20°F:
Heating: Olympian Wave-3 catalytic heater with CO detector
Water: Pipe insulation on exposed lines, tank blanket
Power: Battery blanket or insulation box for improved cold performance
Moisture: Reflectix window covers, small 12V fan for air circulation
Better Level Implementation ($800-1200 budget)
Systematic approach for regular winter camping down to 0°F:
Heating: Wave-6 catalytic heater plus 12V heated pads for critical areas
Water: Heated water hose, tank heaters with thermostats
Installation priority follows the systems hierarchy I’ve developed through trial and error. Start with heating reliability since it affects everything else. A functioning catalytic heater keeps you comfortable while you work on other systems and provides backup if primary systems fail.
Water system protection comes second because frozen pipes can end your trip instantly. I’ve learned to test protection systems before departing by creating controlled cold conditions using fans and opening cabinet doors to simulate worst-case scenarios.
Installation Testing Protocol:
Heat Test: Can your heating system maintain 65°F interior when garage doors open on a 32°F night?
Water Test: Do heating elements keep water flowing during the heat test?
Power Test: Can you run essential systems for 48 hours without charging?
Integration Test: Do all systems work together without overloading power capacity?
Troubleshooting winter failures
Even with systematic preparation, winter camping presents unexpected challenges. Five winters of problem-solving taught me that most failures follow predictable patterns, and having response protocols prevents minor issues from becoming trip-ending disasters.
Power system failures top the list because they cascade into other problems. When batteries drop below functional voltage, water pumps fail, heating fans stop, and lighting systems dim. My protocol starts with immediate load reduction—turn off everything except essential heating—then assess charging capacity and remaining runtime.
Emergency Power Protocol:
Immediate: Reduce electrical load to heating and essential lighting only
Assessment: Check battery voltage, generator function, charging system operation
Charging: Run generator continuously until batteries reach 80% capacity
Conservation: Implement power rationing until conditions improve or you can relocate
Water system failures require quick response to prevent pipe damage. Frozen pipes expand and can crack, creating expensive repairs and immediate water loss. The key insight from my Moab experience: thaw gradually and check for leaks before restoring full pressure.
Heating system failures in extreme cold become life-safety issues. I maintain redundant heating capability—catalytic heater as primary, RV furnace as backup, electric heater as tertiary option when power allows. Never rely on single-point-of-failure heating in sub-freezing conditions.
My retreat protocol activates when multiple systems fail or weather exceeds your preparation level. According to National Highway Traffic Safety Administration guidance, winter travel requires exit strategies and alternate shelter options. Pride shouldn’t prevent you from moving to a hookup campground or heated facility when conditions demand it.
Putting it all together: your winter action plan
Successful winter boondocking starts months before your first cold-weather trip. The systematic approach I’ve developed through five winters eliminates guesswork and builds confidence through preparation and testing.
Your preparation timeline starts in late summer with system evaluation and modification planning. August and September provide time for equipment acquisition and installation without cold-weather pressure. October becomes your testing month—simulate winter conditions and verify all systems work together effectively.
Winter Boondocking Preparation Timeline
August-September: System Planning and Installation
Complete winter viability audit on current systems
Order and install heating, water protection, and power upgrades
Test individual components before integration
October: Integration Testing
Simulate winter conditions with fans and open doors
Verify all systems work together without power overload
Practice emergency procedures and troubleshooting
November-March: Deployment and Refinement
Start with short trips near home base for system validation
Gradually extend duration and decrease temperatures
Document lessons learned for next season improvements
Location selection plays a critical role in winter boondocking success. I target areas with reliable cell coverage for weather updates and emergency communication. National Weather Service forecasts become essential daily reading, particularly for wind chill factors and precipitation timing.
Your first winter trips should focus on system validation rather than epic adventures. Camp within 50 miles of heated facilities and practice your procedures during manageable conditions. This approach builds confidence and identifies system weaknesses before you face extreme situations.
Winter Success Checklist (printable version available):
Systems Check: All heating, water, power, and moisture systems tested and functional
Communication Plan: Route shared with contacts, emergency procedures documented
Weather Monitoring: Current forecast confirmed, backup plans for severe conditions
Exit Strategy: Heated facilities identified, retreat protocols established
The systems-based approach to winter boondocking transforms what many consider an extreme challenge into a manageable adventure. By understanding how water, heat, power, and moisture control work together, you can enjoy the serene beauty and solitude that winter camping offers.
Remember that winter boondocking skills develop gradually. Each season brings new lessons and system refinements. The goal isn’t perfection on your first trip—it’s building capability and confidence that lets you access spectacular winter landscapes safely and comfortably.
Want the complete 47-point winter viability audit checklist I’ve developed through five winters of testing? This printable guide includes system-specific evaluation criteria, emergency protocols, and preparation timelines.
Winter boondocking opens access to some of North America’s most beautiful and peaceful landscapes. The silence of snow-covered forests, the clarity of cold-weather stargazing, and the satisfaction of self-sufficient living create memories that last long after you return to warmer climates. With systematic preparation and the right mindset, your RV can become your gateway to winter’s quiet wonders.
The Ultimate Guide to Sustainable Off-Grid Camping (2025)
Last Updated: December 24, 2024
By The Boondock or Bust Team
Boondocking, also known as dispersed camping, offers a unique opportunity to experience nature while minimizing environmental impact. According to the U.S. Forest Service, dispersed camping visits increased by 68% between 2019 and 2023, highlighting the growing need for sustainable practices.
Boondocking Basics & Environmental Impact
The Bureau of Land Management (BLM) defines boondocking as camping on public lands outside of designated campgrounds. This practice requires careful attention to environmental stewardship and adherence to Leave No Trace principles.
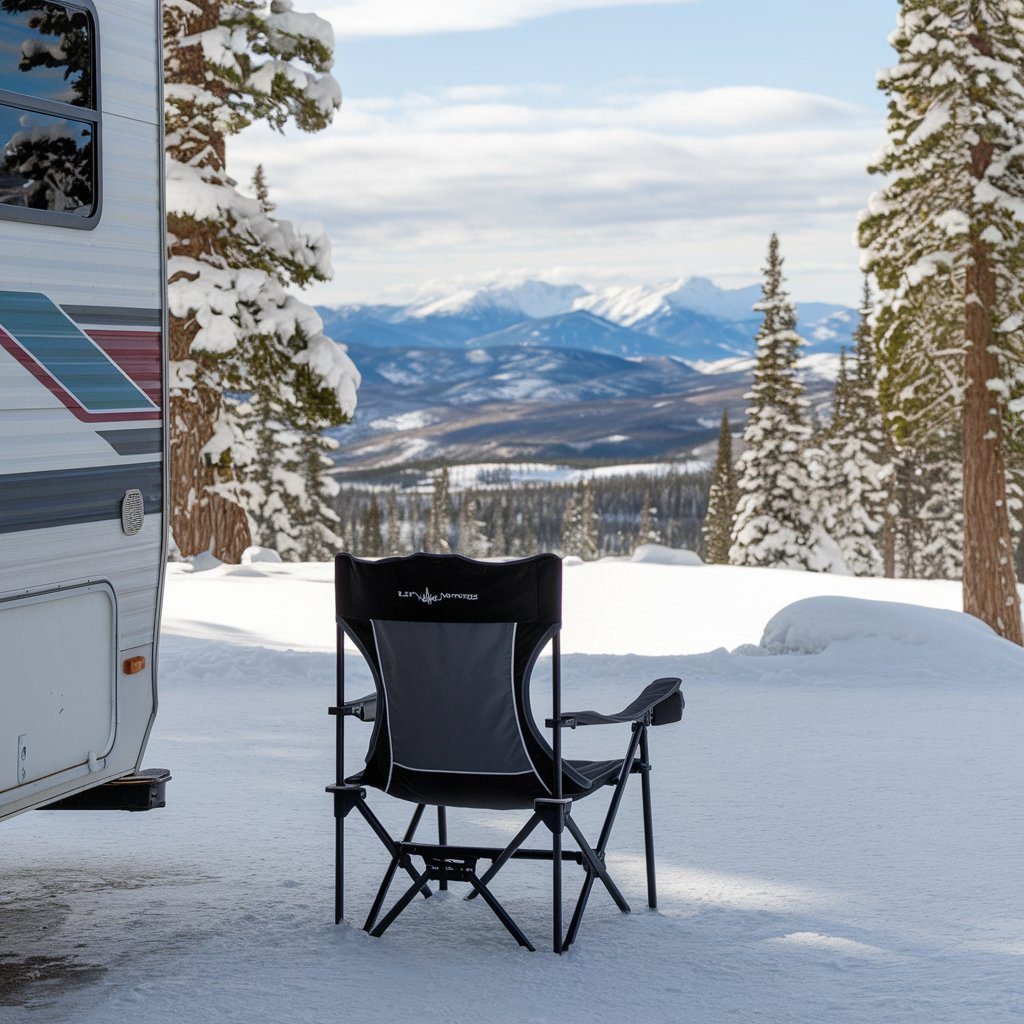
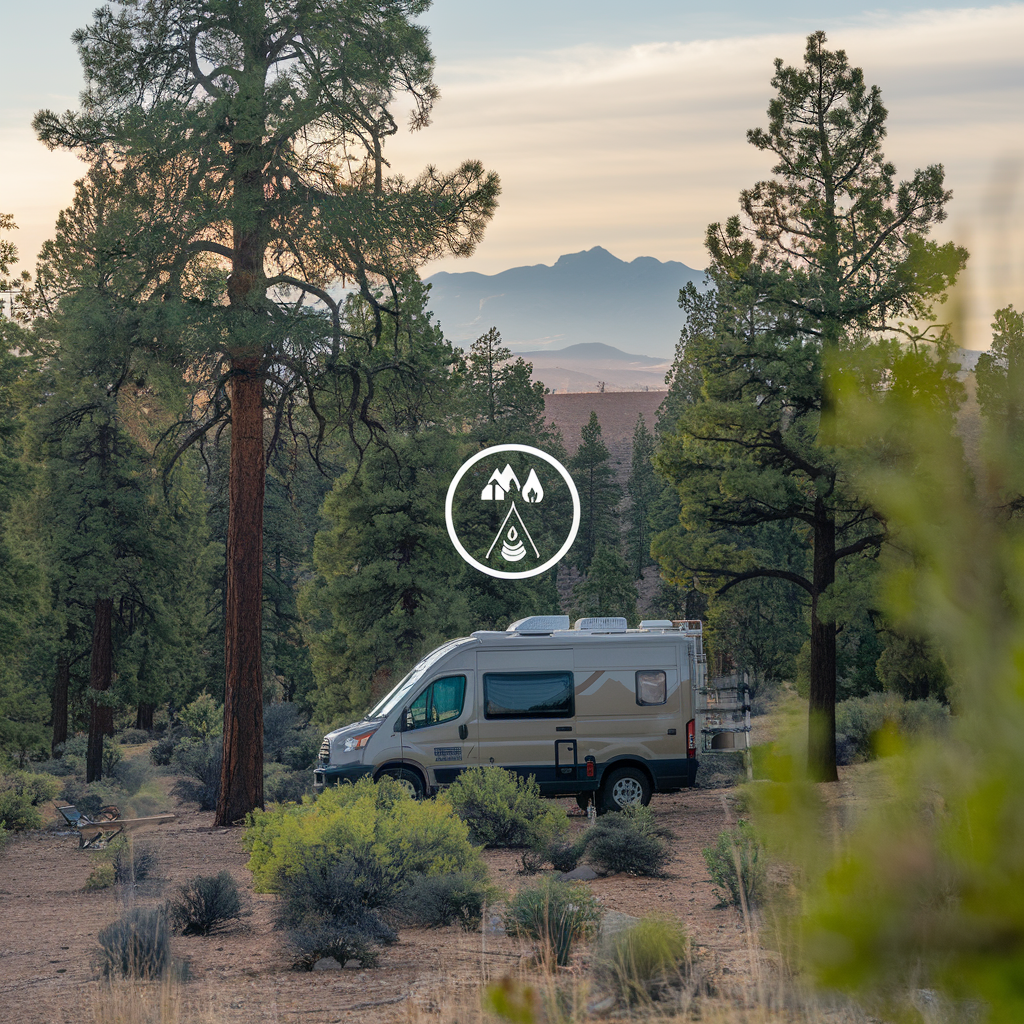
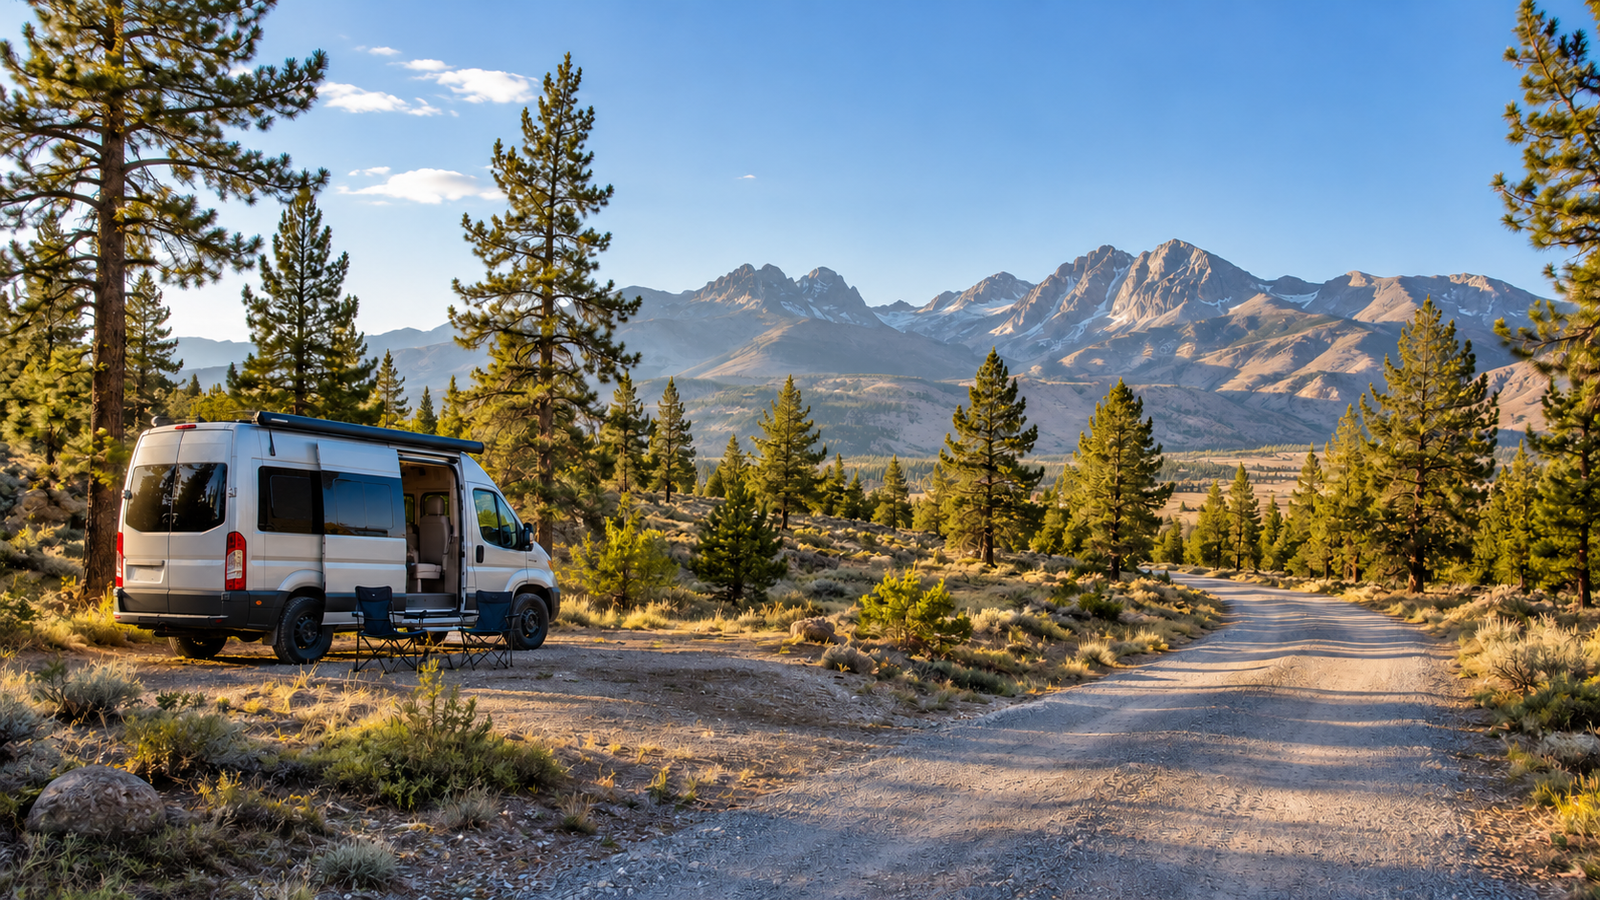
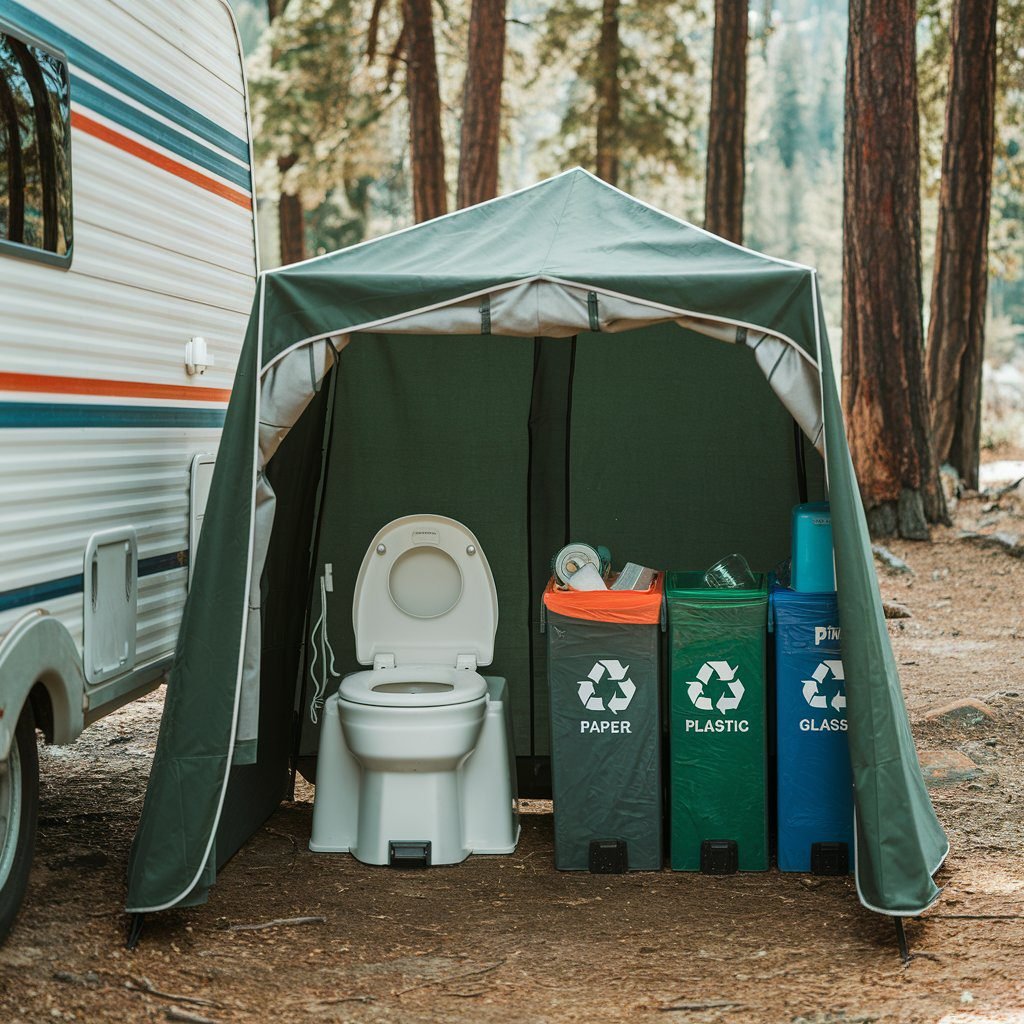
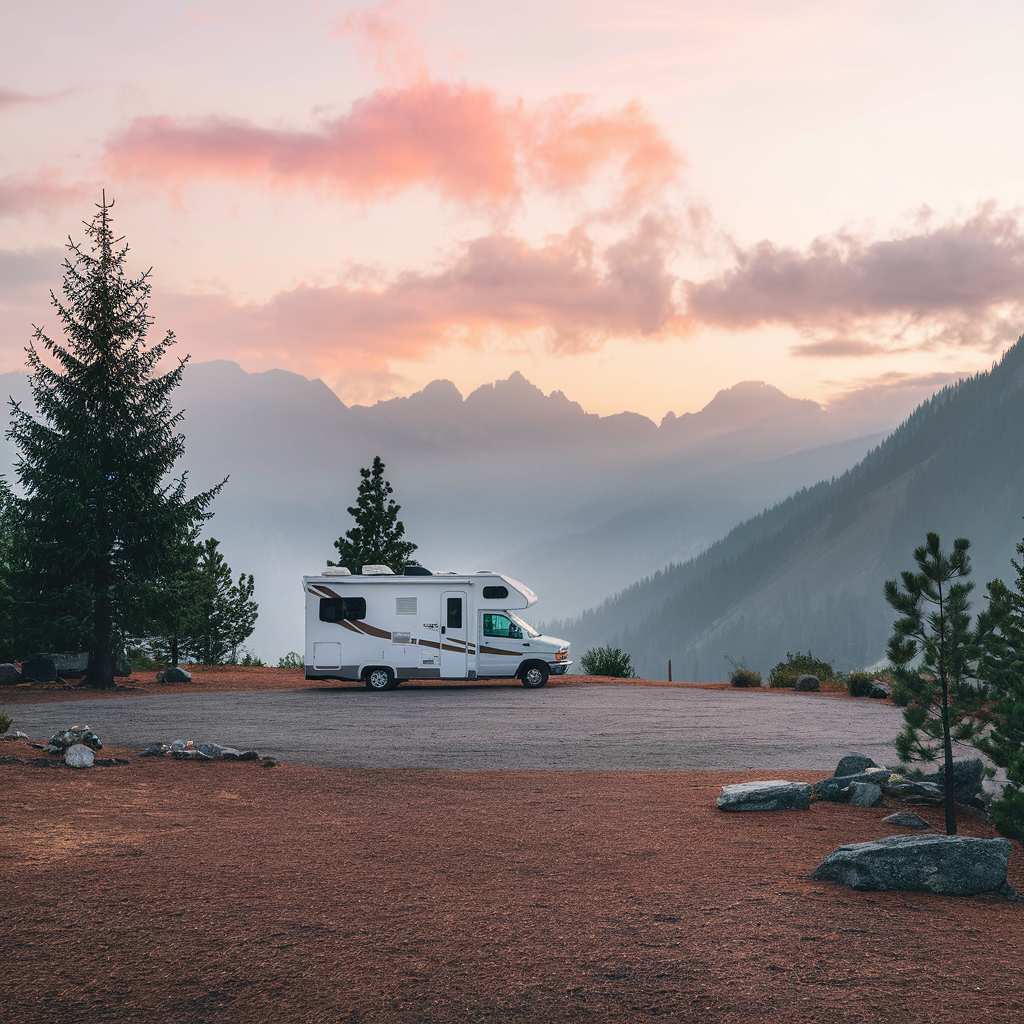
AI-generated illustration of a campsite on an existing bare surface; local camping rules still apply.
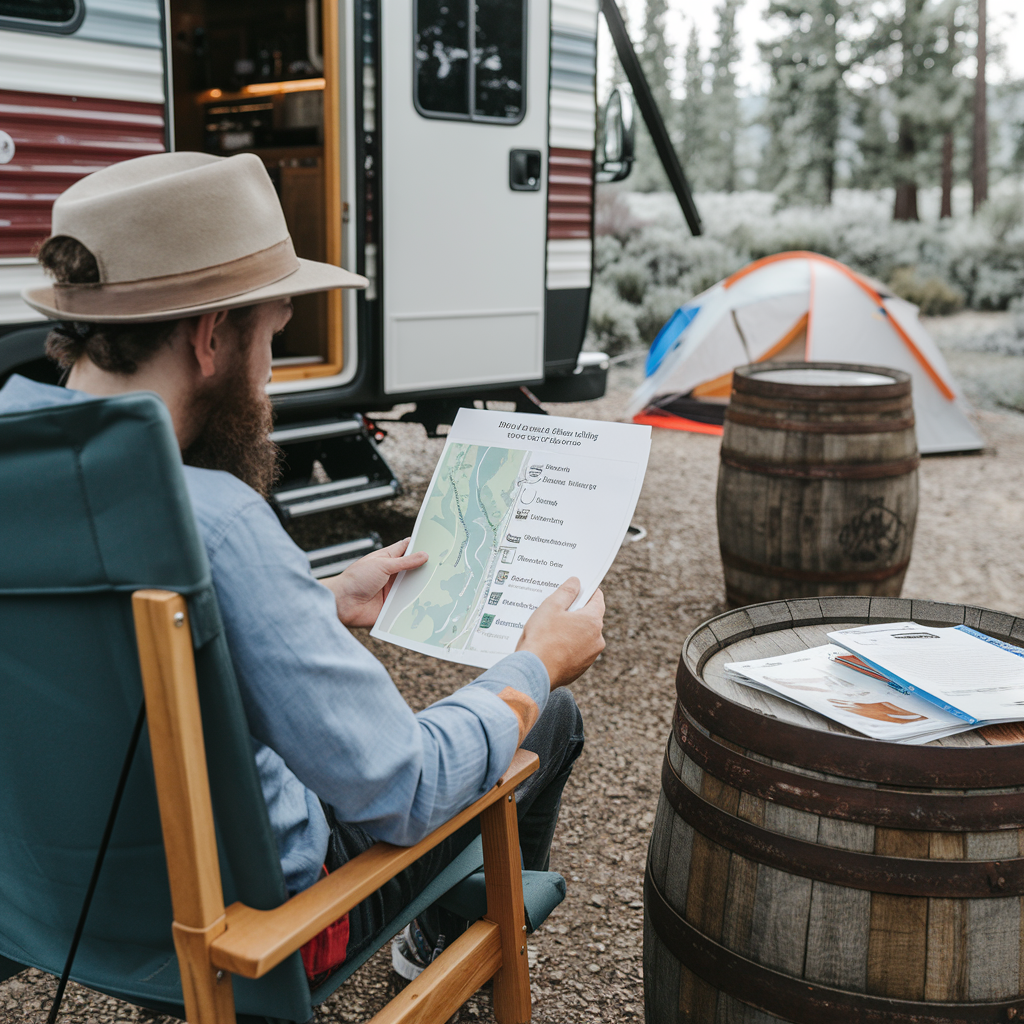
According to the U.S. Forest Service and BLM, dispersed camping is often free and permit-free, but local rules control. The America the Beautiful Pass is not a general permit for dispersed camping. Before a trip:
Confirm that camping and motorized access are allowed at the specific site.
Check whether a local permit, fee, group-use authorization, or seasonal restriction applies.
Call 911 for an immediate emergency when service is available.
Save the current phone number for the specific Forest Service ranger district or BLM field office before leaving coverage.
Share your route and expected return time with a trusted contact.
Final Thoughts on Eco-Friendly Boondocking
Sustainable boondocking requires careful planning, proper equipment, and a commitment to environmental stewardship. By following the guidelines provided by federal land management agencies and adopting eco-friendly practices, we can preserve these natural spaces for future generations.
I’ll never forget the first time I parked my RV miles away from civilization—just me, my trusty rig, and a sea of quiet wilderness. It was equal parts thrilling and nerve-racking, but that leap of faith led me to discover the exhilarating freedom of solo RVing. If you’re dreaming of hitting the open road alone (or simply craving solitude on your next trip), these are the real-life tips and tricks that keep me safe, happy, and eager for more.
This topic is timely because more people than ever are embracing digital nomad lifestyles, remote work, and a craving for meaningful experiences in nature. Surprisingly, solo RV travel content still doesn’t get as much spotlight as family or couple travel, so here’s a deep dive into how to boondock solo with confidence. Whether you’re looking to monetize by blogging about your travels or simply want the satisfaction of conquering the wild on your own, boondocking tips can help you tap into an underserved audience of independent adventurers.
Why I’m Hooked on Solo RVing (and Why It’s Booming)
Let’s face it: group camping has its perks, but if you’ve ever craved the freedom of rolling into remote public lands without waiting for the crew to agree, solo RVing might be your jam. I first noticed this trend while scrolling through RV forums—more folks were ditching the caravan mentality in favor of solo journeys. According to the RV Industry Association, RV ownership has been steadily increasing in the U.S., in part due to easier access to remote work opportunities (RV Industry Association, 2023). For many, that means no more rigid 9-to-5 schedules and a chance to roam wherever the signal bars still exist.
Personally, I’m hooked on the minimalist, off-grid living vibe. No more full-hookup restrictions and busy campgrounds—I can simply roll up to a slice of nature and call it home for a while. Plus, if you’ve ever dreamed about sipping your coffee in total silence as the sun peeks over a mountaintop, there’s no substitute. It’s no wonder that solo RVers, especially women traveling alone, are one of the fastest-growing segments of the road life community (U.S. Bureau of Labor Statistics, 2023).
Another reason boondocking is becoming so popular is its affordability. Without paying nightly campground fees, I’ve saved a ton on my journeys—and that’s money I can reinvest in gear, experiences, or even my next big road trip.
Safety First: My Go-To Tactics for Peace of Mind
Trusting My Gut (a.k.a. The Intuition Radar)
If there’s one rule I never break, it’s listening to that little voice inside my head that says, “Nope, not feeling this place.” I remember pulling into a rest area late at night that seemed oddly deserted. Every bone in my body told me to move on, so I did—and found a safer spot down the road. Whenever possible, I do a quick background check by browsing apps like Campendium or FreeCampsites.net to see what other travelers are saying.
Before setting off, I text my friend Sarah my itinerary—just the basics of where I plan to spend the night and when I’ll check in. If I go off-grid for a few days, I make sure she knows that as well. Knowing someone’s got my back in the “real world” reduces a ton of stress.
Finally, if a spot feels sketchy or if I sense an uneasy vibe, I pack up and leave without a second thought. Peace of mind is everything when you’re flying solo.
Picking the Right Campsite
My second golden rule: If I’m boondocking, I try to arrive with daylight to spare. That way I can scout for hazards, see how flat the terrain is, and find an exit route in case I need a quick getaway. I avoid setting up near main roads where I might become a target for curious passersby, but I also don’t venture too deep into remote areas unless I’m absolutely sure I can handle them.
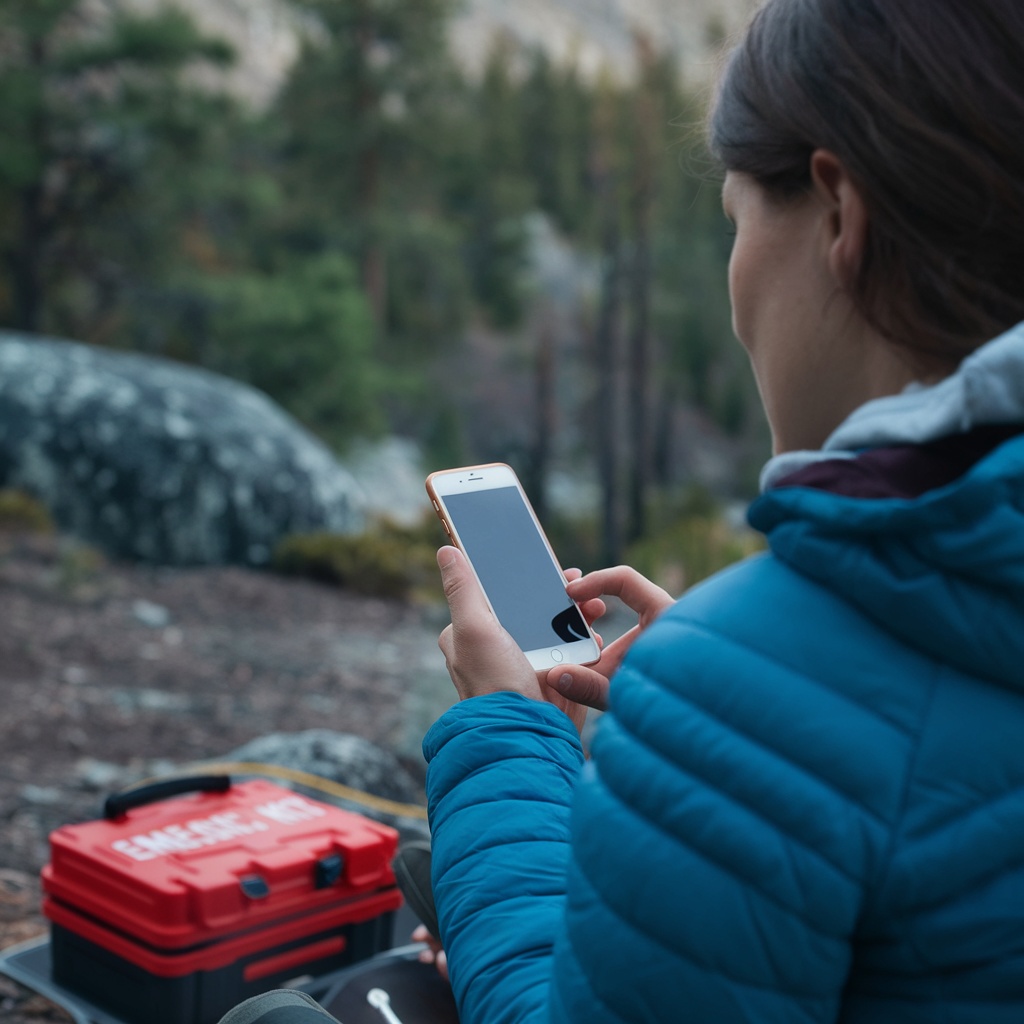
Over time, I’ve learned it’s really helpful to scope out places with decent cell service—or at least have a backup communication plan. One of my favorite gadgets is the Garmin inReach Mini—a satellite communicator that lets me send messages or calls for help even when my phone is in “No Service” mode (Garmin, n.d.).
Last but not least, I never park my RV at a downward slope if rain is forecasted. Trust me: getting stuck in mud, alone, is about as fun as stepping on a Lego barefoot.
Staying Connected (And Powered Up)
I used to think a single cell phone was enough. Then I realized there are spots where my poor phone basically turns into a brick. Now, I always carry a backup battery bank, a car charger, and sometimes a portable solar charger to keep things juiced up. Additionally, a satellite communicator is a major lifeline for emergencies.
For daily check-ins, I use Life360 or Google Maps’ Location Sharing so my close friends can see if I’m still chilling in the desert or if I decided to spontaneously move to the mountains. Let’s be real: traveling alone doesn’t mean I want to be lost to the world entirely!
If you’re serious about your boondocking independence, consider a cell signal booster too. This gadget can amplify a weak cell signal just enough to get important texts and emails through.
Lights, Locks, and Little Alarms
When I first started solo boondocking, I added a couple of motion-activated lights around my RV’s exterior. They’re solar-powered, so I don’t have to worry about batteries, and they light up like a stadium if something—or someone—approaches. Simple but effective.
On top of that, cheap magnetic alarms on windows and doors can make a huge difference. If an unwanted visitor tries to slide my RV window open, the alarm emits a high-pitched screech that would wake the entire forest. Plus, valuables stay hidden inside cabinets or locked away—no reason to invite mischief, right?
Call me paranoid, but I always double-check locks before I settle in for the night. It’s a small habit that’s saved me a lot of restless tossing and turning.
Self-Sufficiency Hacks for Off-Grid Living
Power Up with Solar and Generators
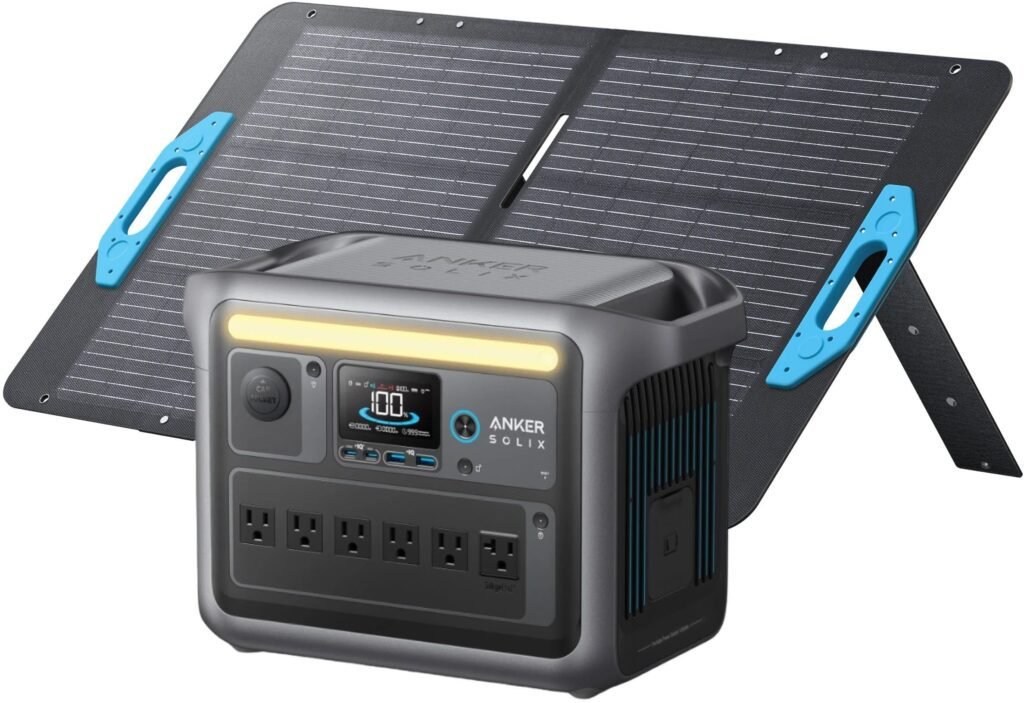
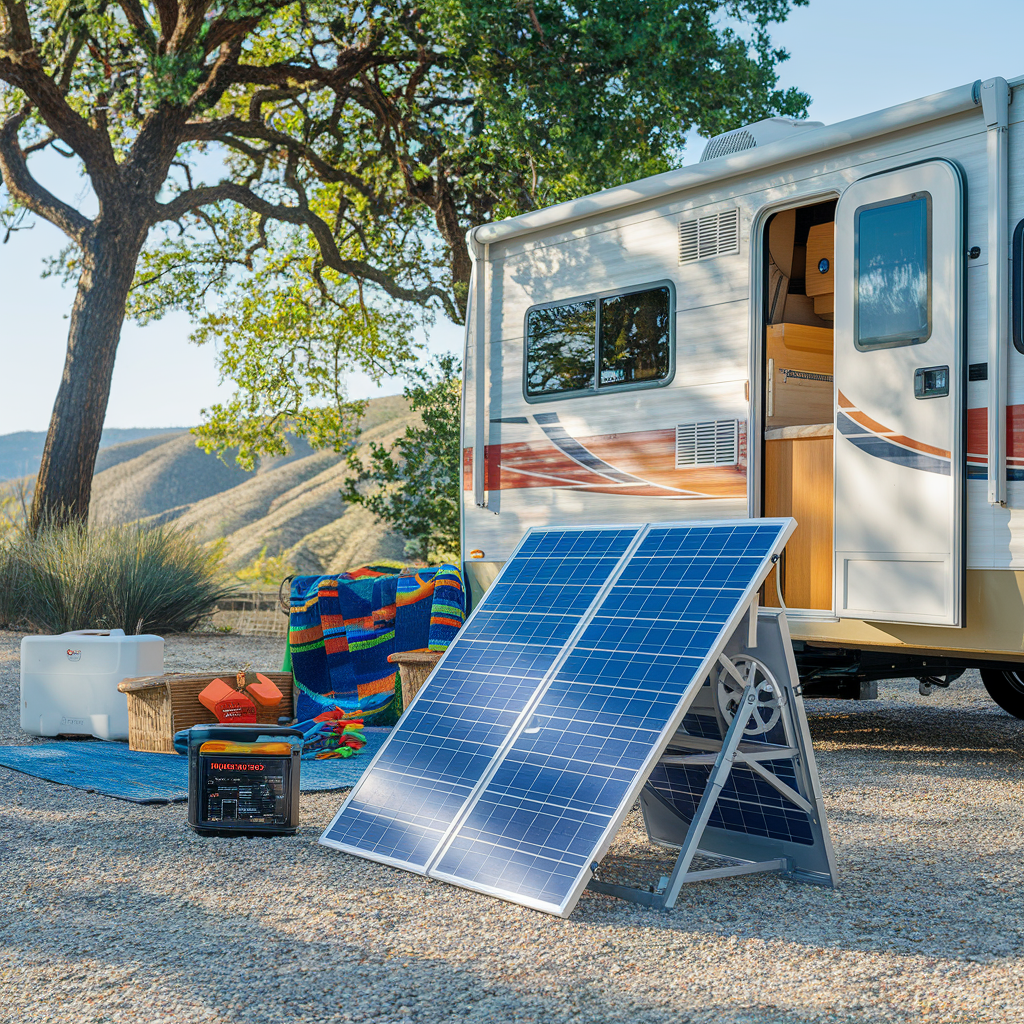
The game-changer in my off-grid living setup has been a portable solar kit. I personally started with the Renogy 200W Starter Kit (Renogy, n.d.), but there are many brands out there. Even on cloudy days, I get enough juice to keep my lights and fridge running. If I want extra assurance, I bring along a small generator, just in case the weather decides to get extra moody.
Fun tip: Monitor your usage by turning off what you’re not actively using. I once forgot my electric water heater on all day—oops. Let’s just say my battery bank was about as lifeless as a Monday morning pre-coffee.
I also replaced most of my old bulbs with LED ones, which use significantly less power. That one switch alone has saved me hours of generator time and a nice chunk of change on fuel.
Water Storage and Easy Meals
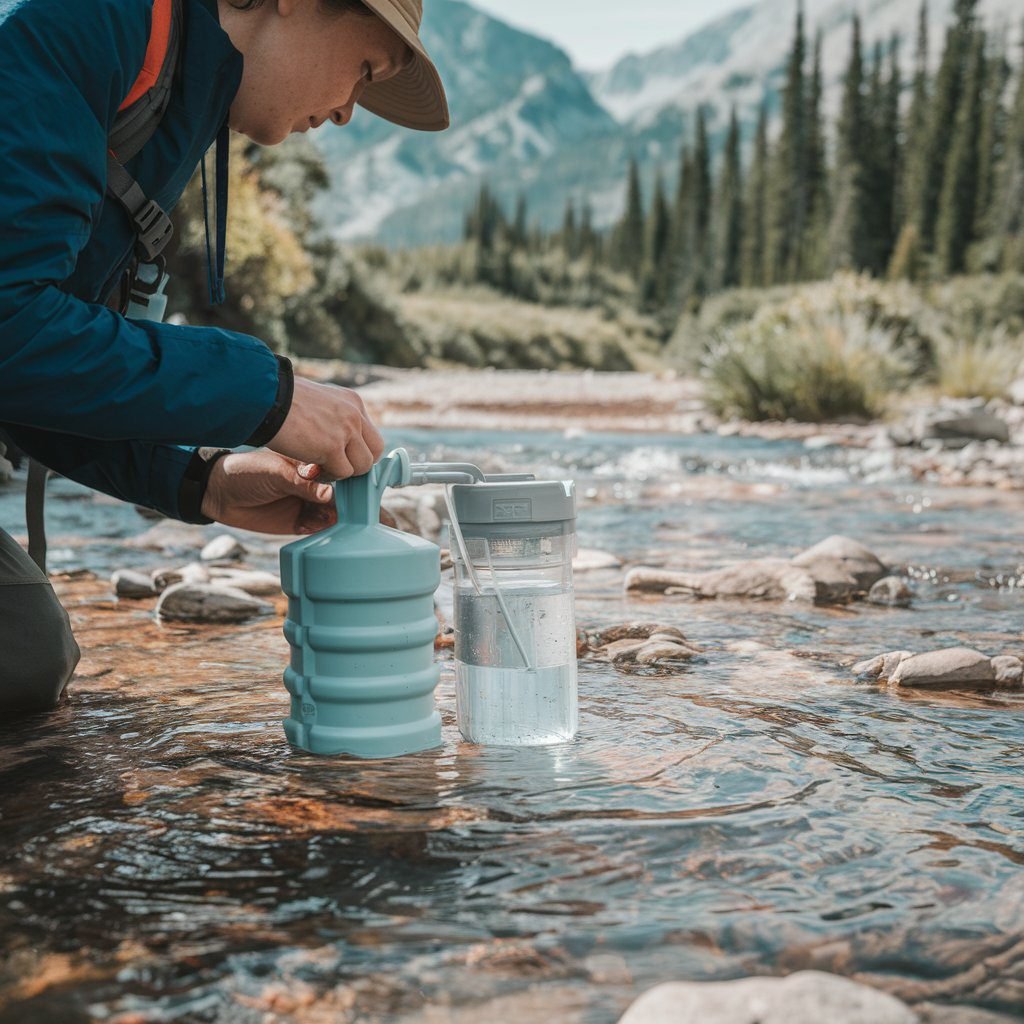
When I roll solo, I treat my water supply like gold. I carry collapsible water jugs that give me extra reserves without hogging precious space. My rule of thumb? Keep enough H2O for at least a week if you’re truly going off-grid. You’d be surprised how fast you can use up water when washing dishes or cleaning your dusty self after a hike.
In the food department, I’m all about non-perishable goods like rice, beans, pasta, and a stash of protein bars. I learned the hard way that fresh produce can wilt faster than I can eat it, especially in warm climates. Now, I keep a healthy mix of dried and canned goods that stay good for months.
Of course, I still indulge in fresh veggies and fruits—I just plan my meals so they’re consumed in the first few days. It’s a small detail that keeps me from making unnecessary trips back into town.
Organization Is Everything
Picture me rummaging under my bed storage for that one specific wrench at midnight—been there, done that, no thank you. I now rely on labeled storage bins for my tools, cooking gear, and first-aid supplies. Having a “home” for every item is clutch when you’re alone and can’t just ask a buddy to grab your flashlight from the glove box.
I also keep a laminated checklist of essential items: generator fuel, extension cords, first-aid kit, multi-tool, and so on. Before hitting the road, I cross-check every single thing. Trust me, it’s less about being obsessive and more about dodging that dreadful “I forgot something super important” moment.
Lastly, cleaning up regularly keeps me sane. My tiny RV feels ten times more spacious when I’m not tripping over shoes, water jugs, or half-finished coffee mugs (yes, I have that problem, too).
RV Maintenance: My Secret Weapon Against Breakdown Panic
There’s nothing like a sudden mechanical issue to ruin a gorgeous off-grid sunset. I’ve learned—sometimes the hard way—that regular RV maintenance is a solo RVer’s best friend. Before each trip, I check my tire pressure, brakes, batteries, and overall engine health. I keep a stash of basic repair tools: duct tape (for quick hose fixes), a tire patch kit, jumper cables, and a small air compressor.
If you’re new to tinkering, YouTube is your buddy. I’ve fixed minor issues like a leaky faucet and replaced a blown fuse just by watching quick tutorials. Even if you’re not mechanically inclined, having a rough idea of how things work will save you stress—and potentially money—when something goes sideways.
Also, don’t forget to give your generator a monthly run, if you have one, so it doesn’t get cranky from disuse. Same goes for your solar system—make sure the panels are clear of debris and the charge controller is reading normal levels.
Staying Sane in Solitude: Mental Health on the Road
I’ll be honest: while I adore the peace and quiet, there have been moments of loneliness when I’m hundreds of miles away from the nearest friendly face. So I make sure to bring along activities that feed my soul. For me, that’s an acoustic guitar, a stack of books, and my sketchpad. If I start feeling that cabin fever creeping in, I pick one and let my creative juices flow.
Another tip? Join online RV communities like iRV2 and Boondockers Welcome. I’ve actually met up with fellow travelers who turned into close friends. Plus, swapping stories with people who “get it” can be super refreshing.
Finally, don’t forget self-care. I like to start my mornings with a quick stretch or light yoga, even if it’s just 5 minutes. And yes, I talk to myself (or my dog, if I’m traveling with one). It’s weirdly comforting, and at least out here, no one’s around to judge!
Emergency Preparedness: Because Sometimes Stuff Happens
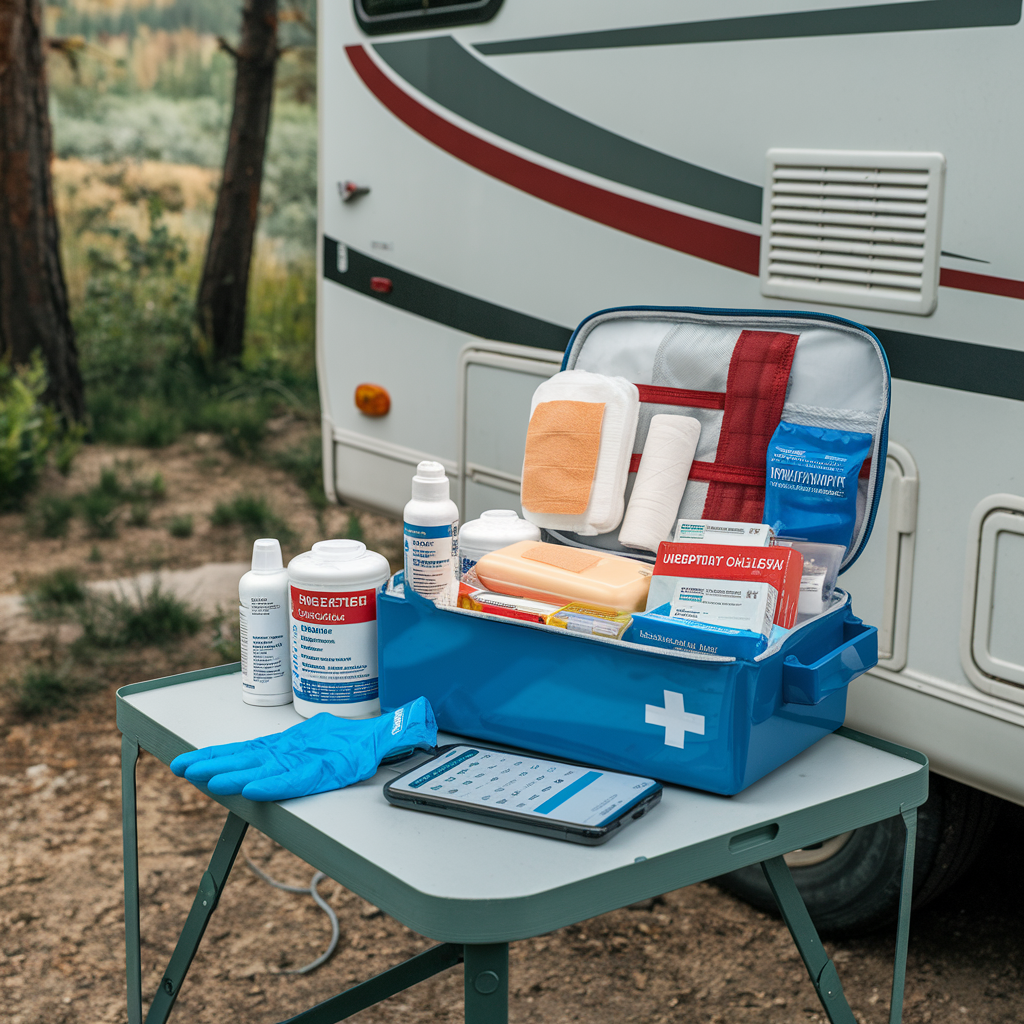
When you’re alone out there, you can’t rely on someone else to handle emergencies. I stock a well-equipped first-aid kit with bandages, antiseptics, pain relievers, and even a quick reference guide for basic medical procedures (American Red Cross, 2022). In my phone, I keep a list of nearby clinics or hospitals along my planned route, just in case.
I also share my travel plans with a close friend or family member. If I deviate from my route, I let them know immediately. This might sound like overkill, but if something does go sideways, at least someone knows my general whereabouts.
Finally, investing in roadside assistance that covers RVs is a major plus. I can’t count how many times I’ve seen new solo RVers scramble when they realize their standard policy doesn’t cover a 25-foot rig. Better safe than sorry!
My Favorite Tools & Gadgets for Going It Alone
Not gonna lie, I’m a bit of a gadget geek. Over time, I’ve discovered a few must-haves that make solo travel a breeze:
Portable Solar Panels: Essential for powering my lights and small appliances without constant generator use. I prefer folding panels for easy storage.
Water Filtration System: I use a LifeStraw for quick sips on hikes and a Berkey at camp for clean, worry-free drinking water.
Backup GPS Device: When cell service disappears, a dedicated GPS is gold. Google Maps offline is helpful, but it’s not foolproof.
Headlamp: Because juggling a flashlight while fixing a tire is basically a circus act. A bright LED headlamp leaves my hands free.
Multi-tool Kit: I can’t live without my trusty Leatherman. From slicing duct tape to tightening screws, it’s a one-stop shop.
These are small additions, but they make a world of difference in how prepared (and calm) I feel when I’m miles from anywhere.
Conclusion: Your Solo RV Adventure Awaits
Diving into solo RVing isn’t just about ditching the crowds; it’s about embracing self-reliance, soaking in nature’s raw beauty, and discovering that—hey, you can totally handle this! From RV safety measures like motion-activated lights to boondocking tips like carefully planning your campsite, each step is a confidence boost. Sure, there are moments of doubt and those random noises at 2 a.m. that will have you grabbing a flashlight, but the sense of freedom and fulfillment is truly next-level.
So if you’re itching to escape the ordinary, start small. Pick a nearby public land area, arrive early, and see how it feels. Odds are, you’ll find yourself craving the quiet, starry nights sooner than you think. Ready to join me in the wild? I’ll be out there—coffee in hand, sunrise on the horizon, and not a single regret.
Got any personal boondocking tales or secret hacks? Share them below so we can all learn from each other’s adventures. See you off the beaten path!
The Winter Solstice, the shortest day of the year, offers a chance for reflection and renewal. As days grow longer, it’s a perfect time to embrace new beginnings with a winter RV trip. Picture waking up to a snow-covered wonderland, basking in desert sunshine, or welcoming the New Year under the stars. Winter RVing brings you closer to nature and offers unique travel experiences without the crowds of peak seasons.
Top Winter RV Destinations
Snowy Mountain Escapes
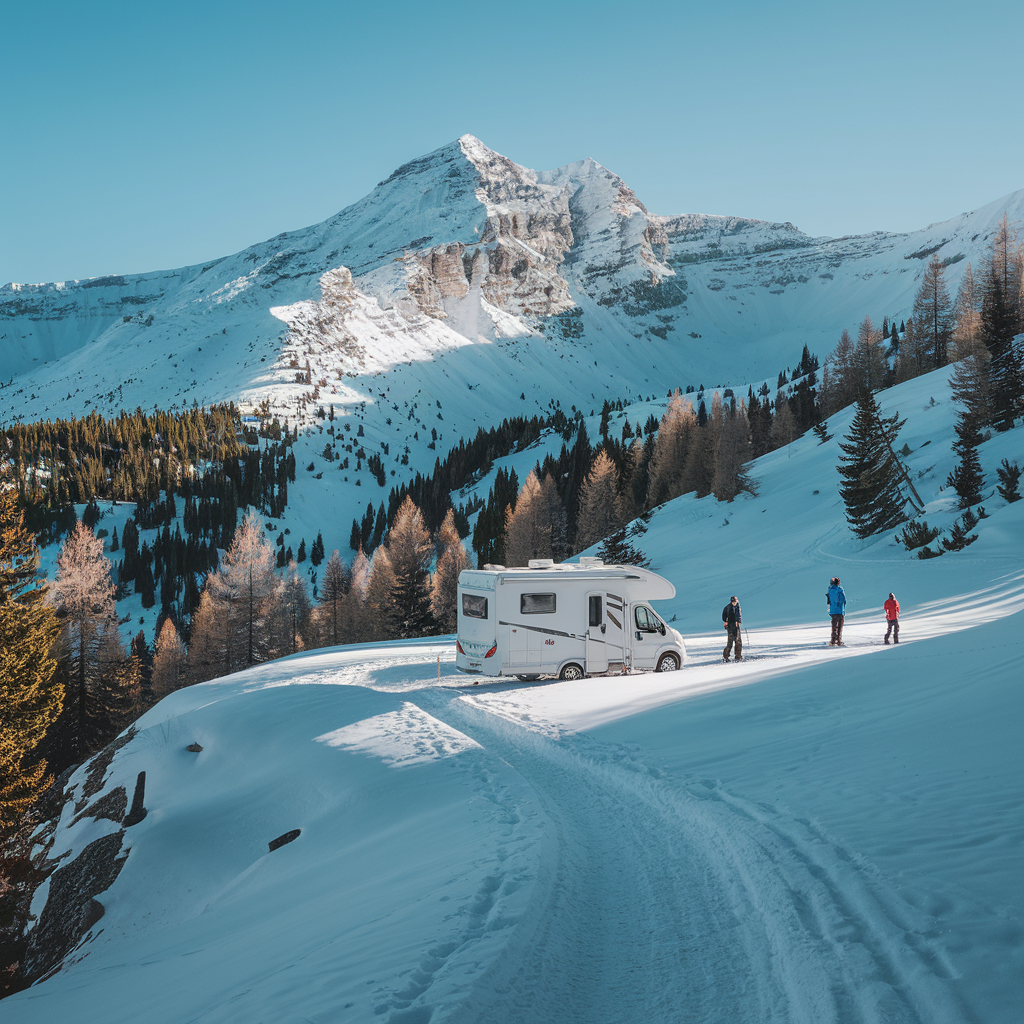
For those who love winter sports and picturesque landscapes, snowy mountain destinations are ideal. Head to Rocky Mountain National Park in Colorado for snowshoeing and cross-country skiing, or explore the serene beauty of Lake Tahoe. Many ski resorts offer RV-friendly parking, making it easy to enjoy the slopes and return to your cozy RV.
Snowshoe through pristine trails.
Cozy up in your RV with a warm drink after a day on the slopes.
Take in panoramic views of snow-covered peaks.
Warm Desert Retreats
If escaping the cold is your goal, head south to the deserts of Arizona or California. Joshua Tree National Park offers mild temperatures and breathtaking desert landscapes, while Quartzsite, Arizona, becomes a bustling hub for RV enthusiasts in winter. Enjoy hiking, stargazing, and the warm camaraderie of the RV community.
Explore unique rock formations and desert ecosystems.
Marvel at stunning sunsets over the desert horizon.
Stargaze under some of the clearest night skies.
Relaxing Hot Springs
Natural hot springs provide the perfect way to relax after a day of exploring. Visit Lava Hot Springs in Idaho or Glenwood Springs in Colorado for a rejuvenating soak surrounded by scenic views. Many hot springs destinations have RV-friendly accommodations nearby.
Unwind in mineral-rich, warm waters.
Soak while taking in the serene mountain views.
Combine relaxation with nearby outdoor activities like hiking.
Tips for Safe and Comfortable Winter RVing
Winterizing Your RV
Preparing your RV for winter conditions is essential to avoid unpleasant surprises. Begin by insulating your pipes and adding RV antifreeze to prevent freezing. Inspect your heating system to ensure it’s functioning correctly and carry extra propane for emergencies. Finally, seal any drafts by adding weather stripping to doors and windows to keep the cold out and the warmth in.
Check your RV’s heating system and service it if needed.
Stock up on antifreeze and extra blankets.
Seal windows and doors to block drafts.
Budget-Friendly Winter RV Travel Tips
Winter RV travel can be affordable with a few smart strategies. Many campgrounds offer reduced rates during the off-season, allowing you to save significantly compared to peak summer months. Boondocking on public lands managed by the Bureau of Land Management is another excellent way to keep costs low. Prepare meals in your RV to save on dining expenses while enjoying the comfort of a home-cooked meal.
Search for free or low-cost campsites.
Use RV park memberships to access discounts.
Drive efficiently to save on fuel costs.
Celebrating the New Year on the Road
Ring in the New Year with unique experiences only an RV adventure can offer. Many RV parks host special New Year’s Eve events, combining traditional festivities with the charm of the great outdoors. Start the year with a First Day Hike, an initiative by America’s State Parks across the country offering guided hikes on January 1st. It’s a wonderful way to embrace new beginnings in nature.
Celebrate with fellow RV enthusiasts at holiday events.
Enjoy quiet nights under the stars to reflect on the year ahead.
Join guided hikes to start the year actively and outdoors.
Conclusion: Start Planning Your Winter Adventure
The time between the Winter Solstice and New Year is perfect for adventure, reflection, and renewal. Whether you’re drawn to snowy mountains, warm deserts, or festive celebrations, winter RVing offers something for everyone. Start planning today and create memories that will last a lifetime.
For more inspiration and resources, check out the Recreational Vehicle Dealers Association for travel tips and RV maintenance advice. Share your travel plans in the comments and inspire others to embark on their own winter journeys!
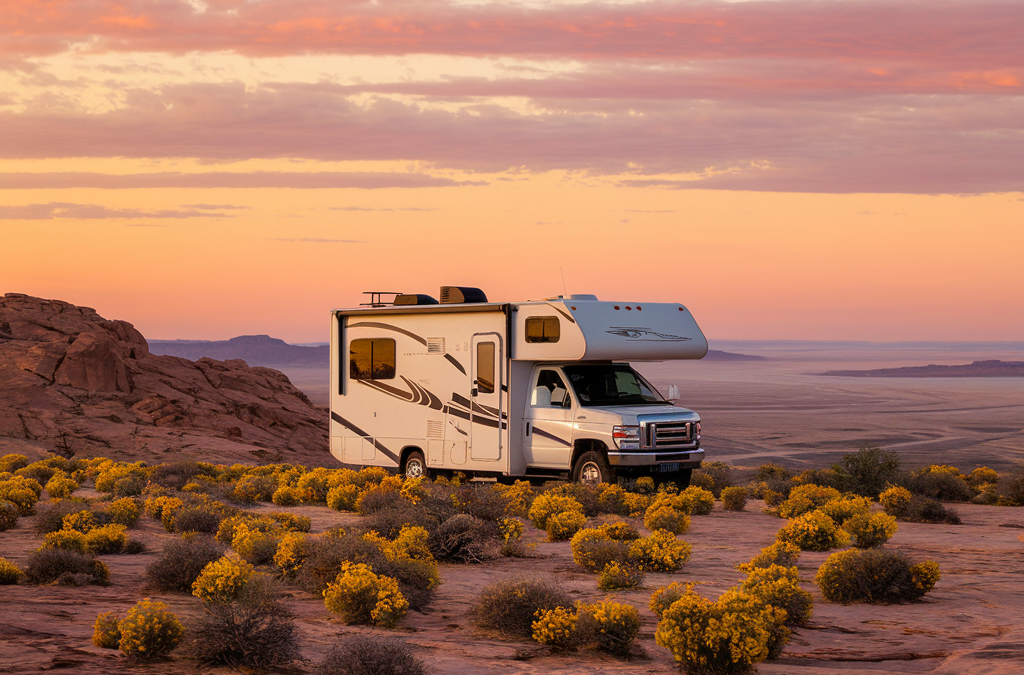
I still remember my very first experience boondocking solo: I’d pulled up to a remote patch of desert in my RV, watching the sun set over the endless horizon. The quiet felt simultaneously thrilling and a little unnerving, but I was determined to prove that solo women boondocking could be both empowering and safe. Over time, I collected a wealth of insights—some from my own mishaps, others from talking with fellow travelers and scouring RV Hacking Camping Ideas forums—on how to stay vigilant while still relishing the freedom of the wild.
In this post, I’ll walk you through my top female RV safety strategies, gleaned from firsthand experiences and helpful online boondocking communities. Whether you’re a seasoned traveler or planning your very first off-grid adventure, these off-grid camping tips will help you navigate new territories with confidence. The key is to strike a balance: embrace the thrill of exploration while cultivating the situational awareness needed to ensure you’re never caught off guard.
So grab your sense of wanderlust, charge up your navigation devices, and let’s dive into how you can stay secure and self-assured on the open road. From planning your routes to maintaining a confident presence in unfamiliar places, here are the practical, real-world steps that have kept me safe—and beyond that, fiercely independent.
Why I Choose Solo Boondocking (and What Makes It Safe)
Boondocking alone didn’t always seem like a no-brainer. Initially, friends and family wondered if a woman traveling solo might be too big a risk—especially while camping off-grid. Yet what I discovered is that by taking calculated precautions, I could enjoy a stronger sense of independence and connection to nature than I ever felt in a crowded RV park.
Part of what makes solo women boondocking appealing is the capacity for self-reliance. Everything from choosing your campsite to deciding when and how you move is under your control, which means you can adjust plans at a moment’s notice if something feels off. In many ways, traveling alone can be safer than traveling in a large group, because you’re hyper-aware of everything and everyone around you.
I also find that the boondocking community itself is surprisingly supportive, both online and on the road. Remote workers and full-time travelers can find active online and on-the-road communities, but the size of that network is not established by the cited labor data. So, if you do need an extra set of eyes or an emergency contact, you’ll often find help among fellow travelers who understand exactly what you’re doing and why.
Scouting Your Campsite with Multiple Routes
Before setting up your rig, scout the area thoroughly and map out more than one way in and out. I learned this the hard way when I discovered my original escape route was blocked by a downed tree after a storm, leaving me scrambling to find another way out.
Nowadays, I run a quick check on apps like Google Maps or Location Sharing Tools from boondocking forums, so I can identify alternate roads or trails. It gives me peace of mind to know that if anything—or anyone—makes me uncomfortable, I can leave at a moment’s notice without feeling trapped.
A tip I gleaned from the RV Hacking Camping Ideas Facebook group was to vary walking paths around camp. If you’re out hiking or exploring, avoid forming a predictable routine. As one group member shared, “Switch up your routes daily, so it’s not obvious where or when you’ll be outside.” Doing so helps ensure that you remain a moving target, less likely to be tracked by strangers or wildlife.
Share Your Location & Stay Connected
I get it—part of the allure of boondocking is escaping into solitude and unplugging from the daily grind. But maintaining a lifeline to someone you trust is non-negotiable. I always message my cousin my GPS coordinates or share a pinned location via text so she knows exactly where I am.
If I plan to go entirely off-grid, I opt for a satellite communicator like Garmin inReach. No cell service? No problem. With the inReach, I can send out an SOS if something goes seriously wrong, which is a big load off my mind.
Jerry Newcomb in the RV Hacking Camping Ideas group had a brilliant tip: “Change your voicemail to say where you’re boondocking if you have to vanish for a while.” That way, if anyone tries to call me and I can’t pick up, they’ll get an update on my last known location—and that can save crucial time if an emergency arises.
Make Your Protective Measures Visible
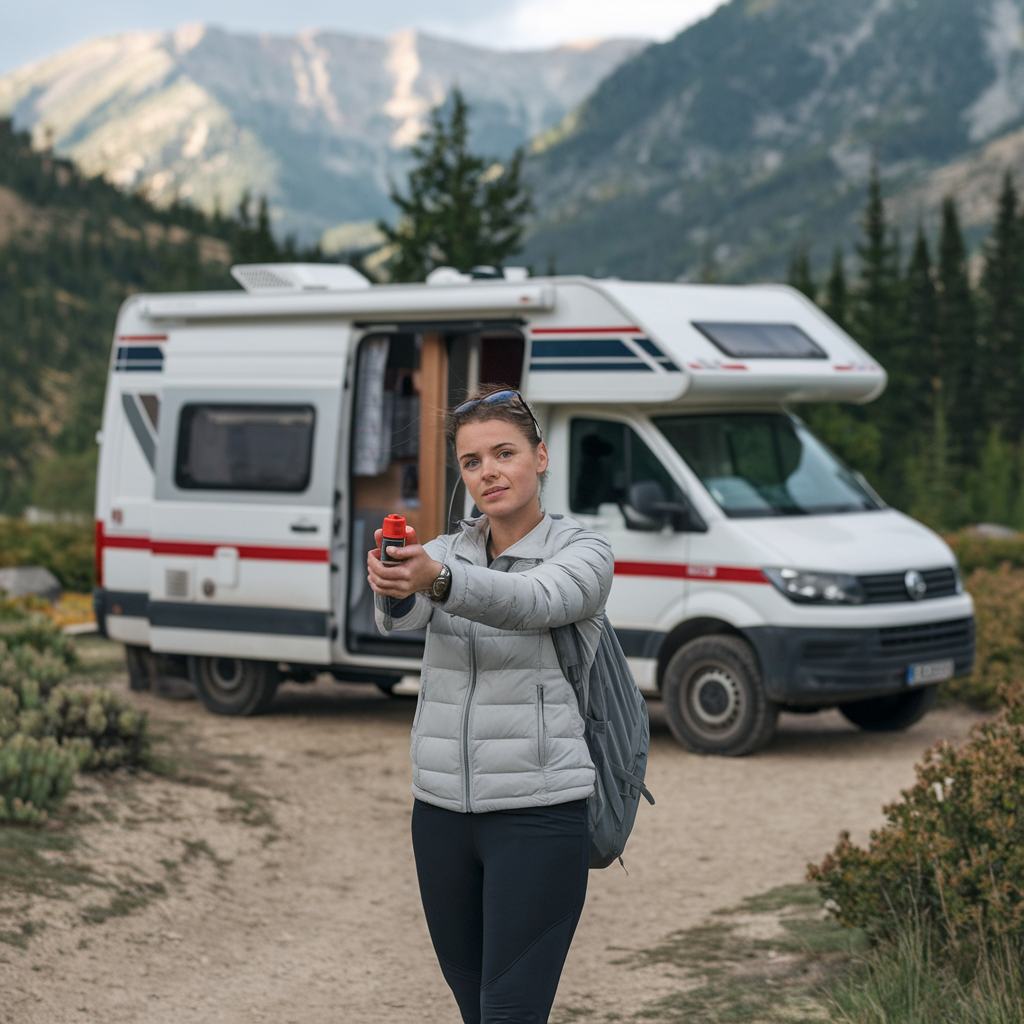
Anyone who stumbles upon my campsite will quickly notice a bright dog bowl, my “Beware of Dog” sign, and a large can of bear spray near the entrance of my RV. The truth is, while I do sometimes travel with a dog, most people don’t know if he’s actually inside. The mere suggestion that I have a big, protective animal on board is enough to deter curious trespassers.
Some travelers prefer firearms, but I always tell people to choose what they’re most comfortable handling responsibly—and that can be pepper spray, a stun gun, or a personal alarm. The important thing is to project an image of readiness. If someone believes you’re armed or prepared to defend yourself, they’re far less likely to test that assumption.
A group member once advised me, “I carry a Glock, and I know how to use it,” while another suggested having a large flashlight that doubles as a baton. Whether lethal or non-lethal, your best defense is the clear message that you’re not an easy target.
Minimizing Nighttime Risks
One of my strict personal rules is: Don’t travel after dark unless absolutely necessary. There’s something about unfamiliar roads and limited visibility that amplifies your vulnerability, especially when you’re alone.
If it’s getting late, I’ll use a membership-based site like Harvest Hosts or Boondockers Welcome to find a safe spot. These platforms connect you with vetted locations—farms, wineries, private properties—where you can park overnight with peace of mind.
At the same time, I avoid wearing headphones or immersing myself in loud music once the sun goes down. I want to remain fully aware of my environment so I can pick up on any strange noises or approaching vehicles. Sometimes it’s the simplest precaution—like keeping your ears open—that proves the most vital to female RV safety.
Social Media Delay: Protecting Your Whereabouts
We all love posting that epic sunset shot in the moment, but doing so in real time can broadcast your exact location to the world—something you might not want if you’re traveling alone. I learned from an experienced boondocker named Laura Jones that waiting at least a few days, if not a full week, before sharing your location is a safer bet.
Turning off geotags on platforms like Instagram, Snapchat, or Facebook is also essential. This simple setting change can stop random folks from pinpointing where your photo was taken. Sure, it’s fun to share the journey as it happens, but playing it cool for a few days is well worth the added protection.
If you’re on the fence, remember that once your travels are done, you can always post your entire trip retrospectively. For me, the main goal is ensuring I’m not giving strangers a roadmap to my immediate whereabouts.
Vehicle Maintenance & Emergency Essentials
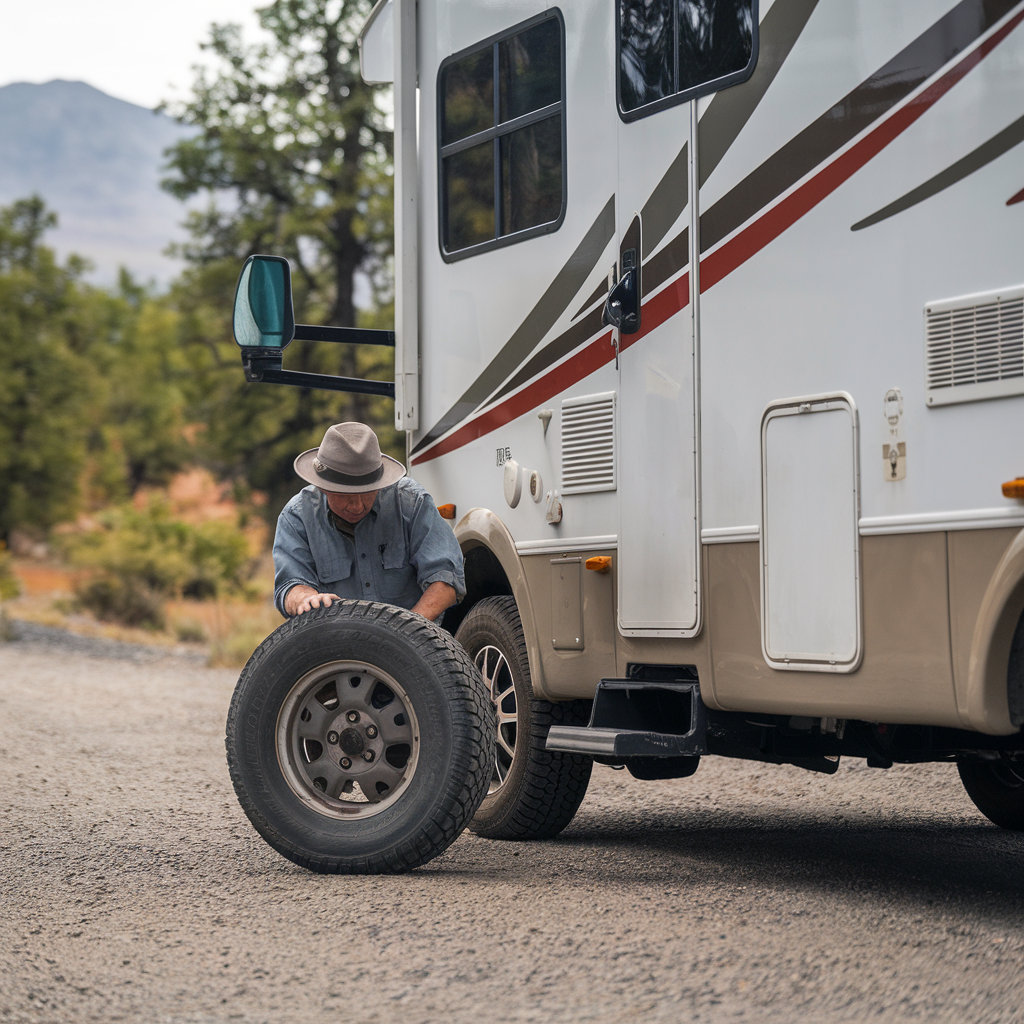
One cardinal rule of off-grid camping tips: keep your vehicle in tip-top shape. I can’t emphasize enough how a flat tire or dead battery in the middle of nowhere can turn a dream trip into a nightmare. That’s why I do a pre-departure inspection every time—checking fluids, tire pressure, and batteries—to avoid getting blindsided on a lonely highway.
I keep an emergency toolkit with the basics: jumper cables, tire repair kit, duct tape, and a compact air compressor. It’s also wise to know your rig’s limitations, especially if you’re headed to steep mountain passes or deep forest roads. If your gut says “This slope is too intense,” trust that instinct.
Lastly, I have a robust first aid kit and a stash of freeze-dried food, extra water, and a small generator or solar power bank. The American Red Cross recommends preparing supplies and a plan for emergencies. Self-reliance is critical when you’re far from help, so never skimp on safety essentials.
Dealing with Unwanted Attention or Harassment
Over the years, I’ve had my share of awkward run-ins—like the time a stranger circled my campsite in his truck, trying to chat me up in the middle of nowhere. In these moments, maintaining a calm but assertive demeanor is everything. I stood tall, made direct eye contact, and politely made it clear I wasn’t interested in conversation.
Sometimes, a firm “I’m not comfortable with this, please leave,” will suffice. If that doesn’t work, I have my personal alarm within reach. The screech alone can scare off even the most persistent individuals.
If you ever feel threatened, pack up and move. Seriously. The beauty of boondocking is that you can drive away from trouble. As a fellow traveler advised me, “Your wheels are your best defense—use them.”
Special Considerations for Different Environments
What you pack and how you prepare can vary widely based on your location. For instance, desert boondocking might call for extra water, reflectors for intense sunlight, and a thorough check of your cooling systems. Forest camping, on the other hand, might require bear-proof food storage, sturdy bug nets, and heightened alertness for larger wildlife.
In urban areas, ironically, I’m even more cautious. I try to park under well-lit spaces near 24-hour establishments, so there’s always a baseline of foot traffic and security cameras. Meanwhile, in mountainous regions, you’ll want to keep an eye on your brakes and engine temperature, as steep climbs can stress your vehicle.
Regardless of terrain, always research local regulations and potential hazards ahead of time. A few minutes of detective work can spare you from major headaches, especially if you’re venturing into places with limited medical facilities or spotty cell service.
Conclusion: Trusting Yourself and Embracing the Journey
Solo boondocking as a woman can sometimes feel like juggling caution and wanderlust—two energies that don’t naturally go together. Yet after countless miles of dusty roads and starlit nights, I can attest that the balance is absolutely doable. You just have to blend a fierce desire for adventure with a healthy respect for the unknown.
Whether you rely on a visible dog dish as a deterrent, post your photos a week late, or carry a Garmin inReach for remote check-ins, each layer of preparedness fortifies your sense of safety on the road. Over time, these safety habits become second nature, freeing up more of your mental space to focus on the things that really matter—like the awe of a desert sunrise or the cozy warmth of your RV on a rainy afternoon.
I’d love to hear how you navigate female RV safety in your own travels. What tactics work best for you, and what lessons have you learned from fellow boondocking communities? Drop your stories in the comments below so we can inspire and empower each other to keep exploring safely. Here’s to the open road, the thrill of possibility, and the bold women who dare to take it on—one off-grid campsite at a time!