
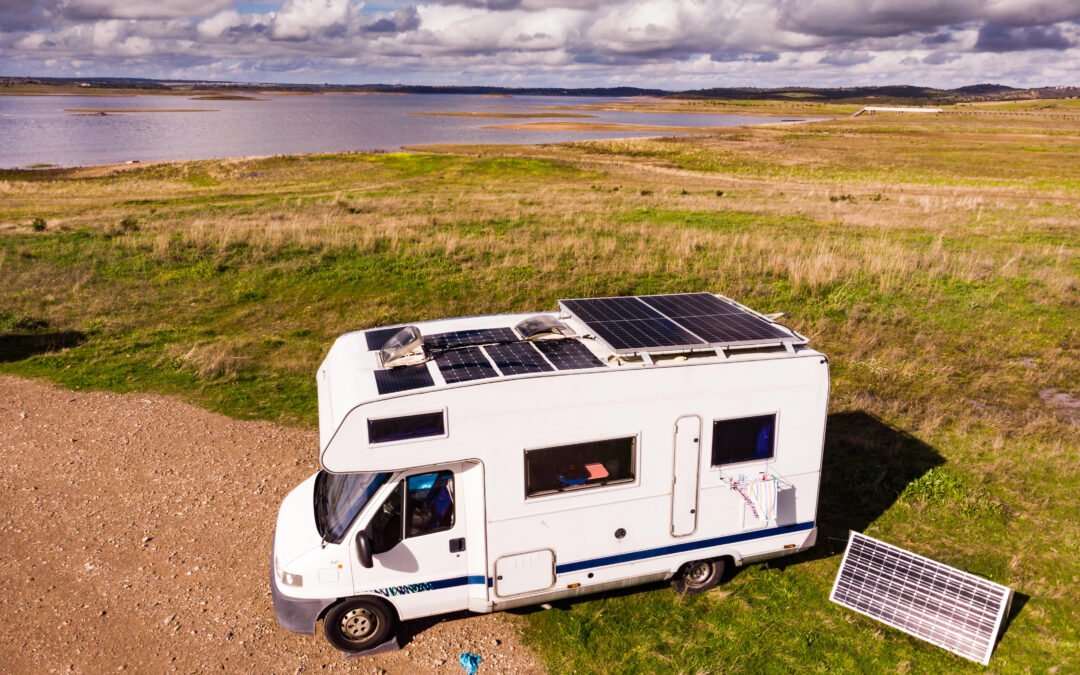
This comprehensive guide is designed to help you plan, design, and install a reliable solar power system tailored to your RV’s energy needs. Whether you’re a weekend adventurer or a full-time traveler, this guide offers:
- Actionable strategies
- Detailed technical diagrams
- Expert insights and real-world examples
…all aimed at fostering a safe, efficient, and future-ready solar installation.
1. Introduction
Embracing solar energy in your RV not only reduces dependence on traditional energy sources but also promotes sustainability and long-term cost savings. The U.S. Department of Energy notes that solar power is one of the fastest-growing renewable energy solutions, helping reduce carbon emissions and boost energy independence.
This guide covers:
- System Components & Design – A look at solar panels, charge controllers, battery types, and inverters.
- Technical Diagrams – Detailed visuals with wiring configurations, mounting options, and safety layouts.
- Installation Guide & Safety Checklist – Step-by-step procedures and recommended best practices.
- Real-World Case Studies – Diverse setups showcasing lessons learned from actual RV solar installations.
- Maintenance & Troubleshooting – Proactive steps, diagnostics, and solutions.
Key Insight: “Solar energy is considered a reliable, promising and profitable energy source. It has various advantages such as pollution free, long life, low maintenance etc.”
(Source: University of Nebraska – Lincoln)
For additional fundamentals of solar energy, visit the National Renewable Energy Laboratory (NREL). This guide is also mobile-optimized, so you can quickly reference important data on your phone whether you’re at home, on the road, or at your campsite.
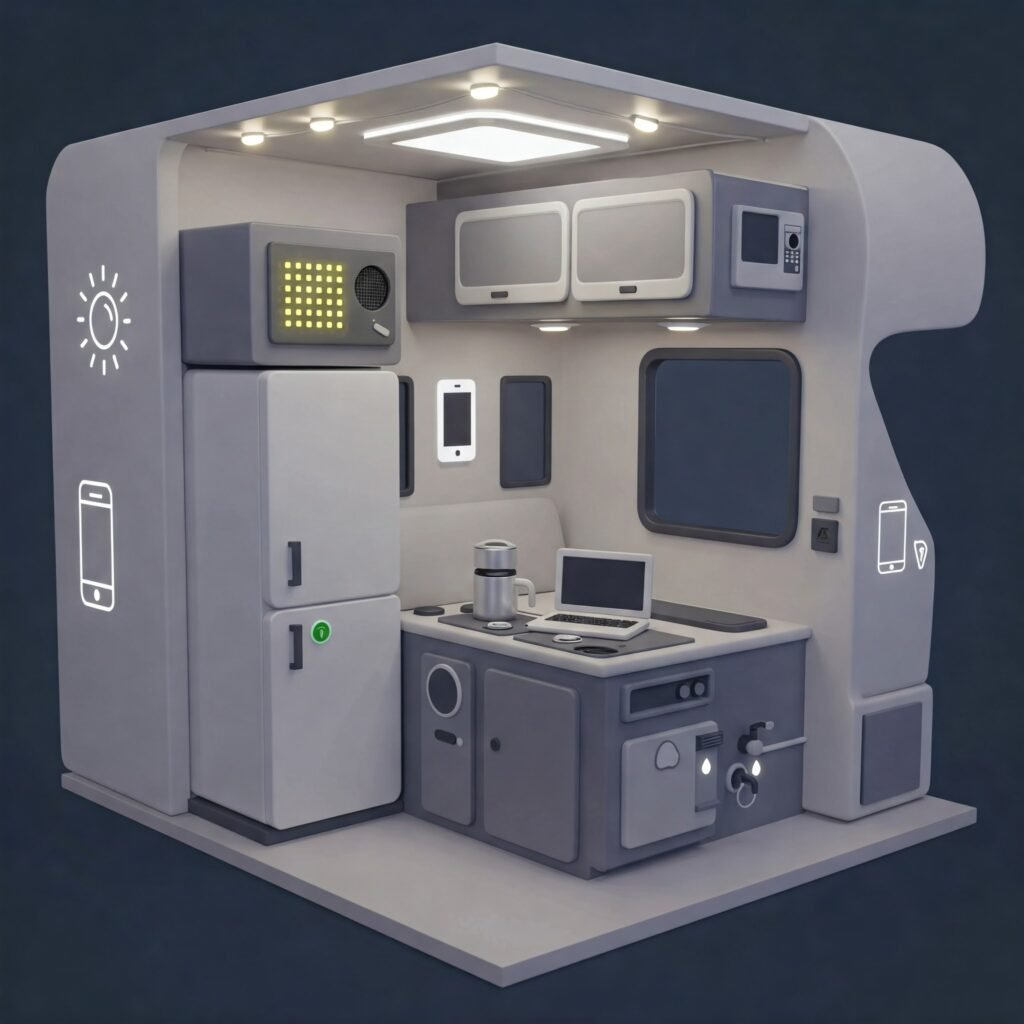
2. Understanding Power Needs
Before designing your RV solar system, accurately assess your daily energy consumption. This “load analysis” helps determine the **sizing** of your solar panel array, battery bank, and charge controller—and prevents over- or under-designing your system.
2.1 Calculating Daily Energy Consumption
Use this formula to calculate energy use:
Daily Energy (Wh) = Appliance Wattage (W) × Operating Hours (h)
Consider some typical RV appliances:
- LED Lights (20W): 4 hours/day → 80 Wh (20W × 4h)
- 12V Refrigerator (45W): 24 hours/day → 1080 Wh (45W × 24h)
- Water Pump (40W): 1 hour/day → 40 Wh (40W × 1h)
- Phone/Tablet Charger (25W): 4 hours/day → 100 Wh (25W × 4h)
Summing these yields 1300 Wh/day. Add a 20–30% safety margin to account for inefficiencies and unexpected usage.
2.2 Factors Influencing Power Needs
- Appliance Efficiency – Energy-efficient appliances reduce overall consumption.
- Usage Patterns – Seasonal variations and day/night usage impact daily load.
- Battery Depth of Discharge (DoD) – Extending battery life often means limiting DoD to 50–70%.
- System Losses – Expect 10–15% losses from wiring and inverters.
2.3 Determining Solar Panel & Battery Requirements
1. Solar Panels
Divide your total daily energy by the peak sun hours in your area (often 4–6 hours).
1300 Wh÷5 h≈260 W (minimum)1300\text{ Wh} \div 5\text{ h} \approx 260 \text{ W (minimum)}
Factor in inefficiencies and potential future expansion.
2. Battery Bank
Choose a capacity that meets your daily needs while adhering to recommended DoD.
If 50% DoD is your target, you need a 2600 Wh (2.6 kWh) battery bank for 1300 Wh of daily use.
What the Experts Say: “Regular checks and consistent maintenance can dramatically extend battery life, in many cases, by 4-5 years.”
(Source: Dometic )
U.S. Department of Energy (2021) also emphasizes that a detailed load analysis is key to optimizing renewable systems and ensuring true energy independence.
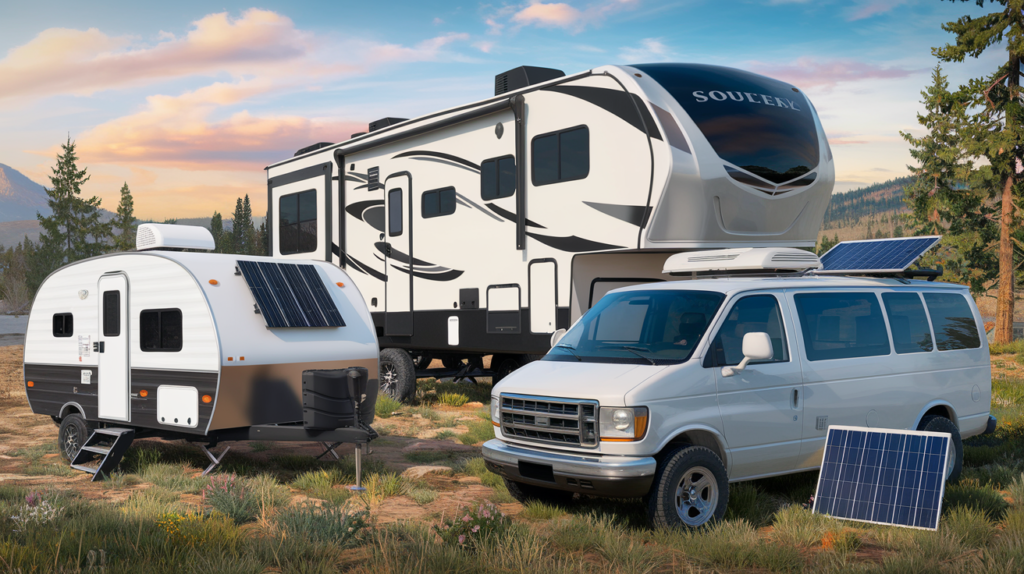
3. Real-World Case Studies
These detailed setups illustrate how different configurations can meet varying power requirements, budgets, and installation challenges.
3.1 Weekend Warrior Setup
-
User Profile:
- Camps 2–3 weekends per month
- Summer usage, 19-foot travel trailer
- 2 occupants
-
Daily Usage: ~960 Wh
- LED Lights (20W): 4 hours → 80 Wh
- 12V Refrigerator (45W): 24 hours → 1080 Wh
- Water Pump (40W): 1 hour → 40 Wh
- Phone Charger (25W): 4 hours → 100 Wh
-
Solar Solution:
- 200W total (2 × 100W panels)
- 200Ah AGM battery bank
- 30A PWM charge controller
- 1000W pure sine wave inverter
-
Approx. Cost: $1,200
-
Install Time: 4–6 hours
-
Lessons Learned:
- PWM controllers can be cost-effective for smaller systems.
- Portable panels help mitigate shading issues.
- Battery monitoring is essential for longevity and efficiency tracking.
3.2 Full-Time Family Setup
-
User Profile:
- Full-time RV living, 32-foot fifth wheel
- Family of 4, travels monthly
-
Daily Usage: ~3240 Wh
- 12V Refrigerator (60W): 24 hours → 1440 Wh
- LED Lights (60W): 6 hours → 360 Wh
- Laptops (180W): 6 hours → 1080 Wh
- TV/Entertainment (120W): 4 hours → 480 Wh
- Instant Pot (700W): 1 hour → 700 Wh
-
Solar Solution:
- 800W total (4 × 200W panels)
- 400Ah Lithium battery bank
- 60A MPPT charge controller
- 3000W pure sine wave inverter
- Dedicated battery monitor system
-
Approx. Cost: $5,500
-
Install Time: 12–15 hours
-
Lessons Learned:
- MPPT controllers typically yield 20–30% more energy capture than PWM, justifying higher cost.
- Tilt mounts significantly improve panel performance in off-peak sun angles.
- A dedicated inverter for high-draw appliances can prevent system overload.
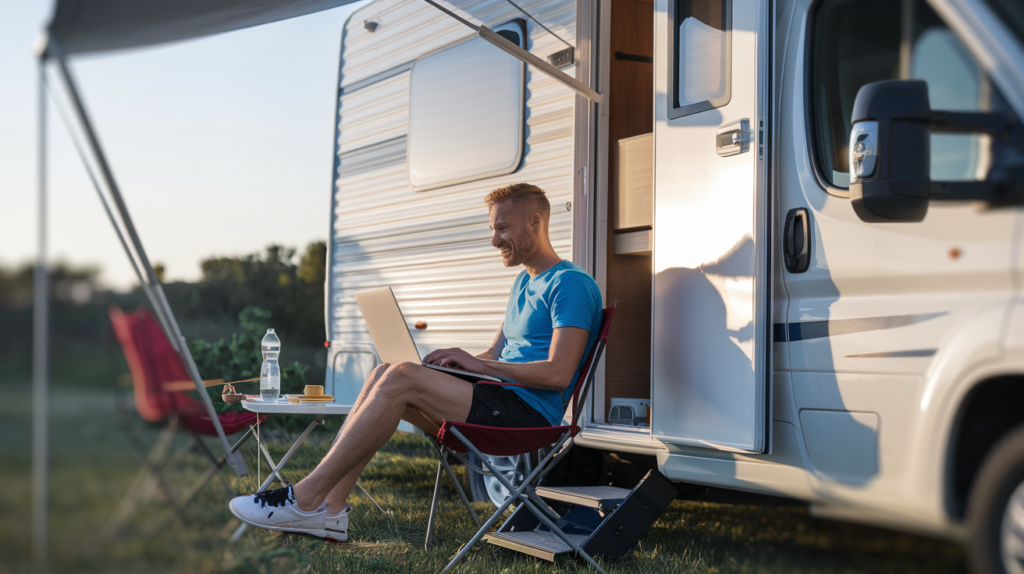
3.3 Off-Grid Worker Setup
-
User Profile:
- Single occupant, remote worker in a 24-foot van
- Stays off-grid 2–3 weeks at a time
-
Daily Usage: ~2400 Wh
- 12V Refrigerator (55W): 24 hours → 1320 Wh
- Computer Setup (250W): 8 hours → 2000 Wh
- Mobile Internet (30W): 12 hours → 360 Wh
-
Solar Solution:
- 600W total (3 × 200W panels)
- 300Ah Lithium battery bank
- 50A MPPT charge controller
- 2000W pure sine wave inverter
- Advanced battery monitor & cellular booster
-
Approx. Cost: $4,200
-
Install Time: 8–10 hours
-
Lessons Learned:
- A backup cellular hotspot ensures reliable connectivity in remote areas.
- A small generator can help during extended cloudy periods.
- Additional 12V outlets improve device compatibility and system flexibility.
Industry Note: Renewable energy facilities increasingly use data analytics to optimize various processes, improving both operational efficiency and financial performance. (Souce: Gleecus technologies).
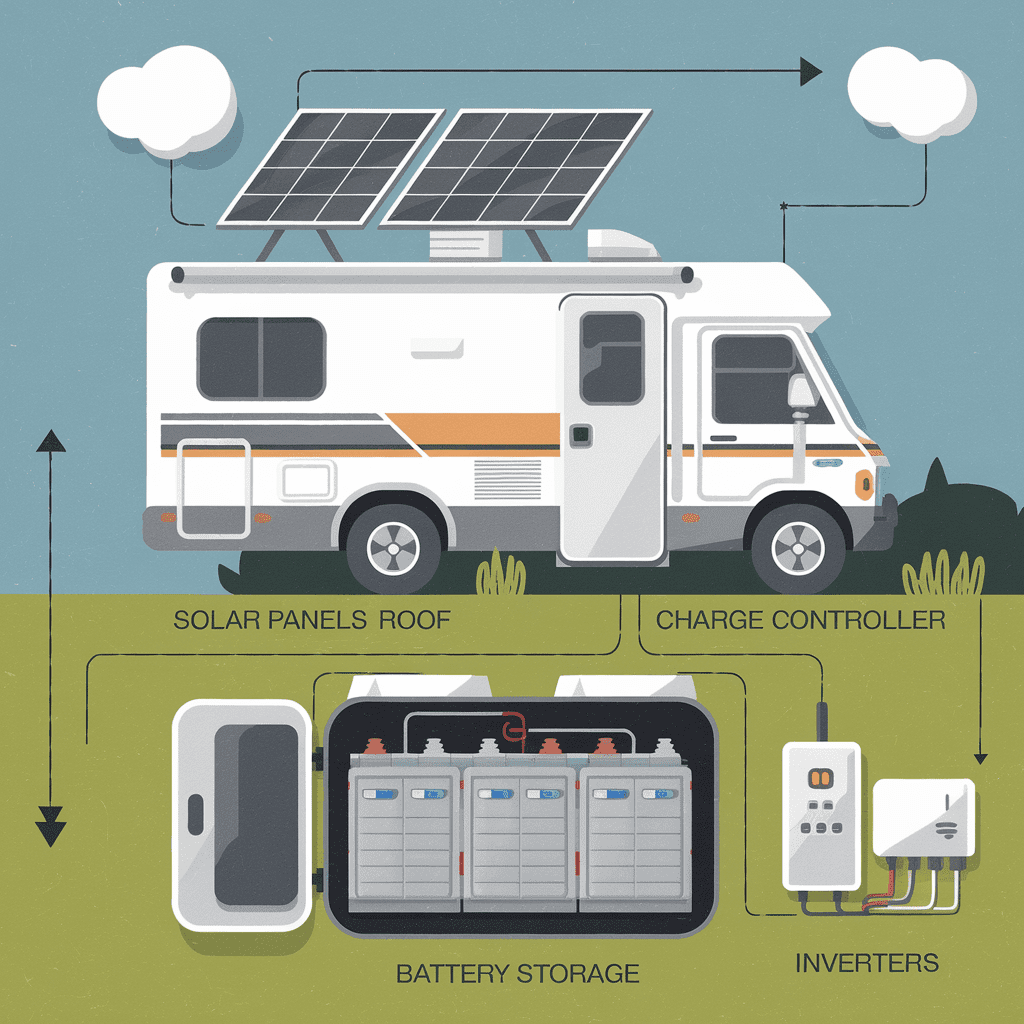
4. System Components & Design
A well-designed system integrates **solar panels, charge controllers, batteries, and inverters**. This section explains **how each part interacts** and why certain components may be preferable for specific RV scenarios.
4.1 Solar Panels
Solar panels capture sunlight through photovoltaic (PV) cells. For RVs, monocrystalline panels typically offer higher efficiency but can be pricier, while polycrystalline panels are cheaper with slightly lower efficiency. Thin-film panels are lighter but usually less efficient.
Tip: If roof space is limited, opt for high-efficiency monocrystalline. For cost-sensitive setups, polycrystalline might be a budget-friendly choice.
4.2 Charge Controllers
A charge controller regulates the flow of electricity from solar panels to the battery bank.
- PWM (Pulse Width Modulation): More affordable but less efficient in varying sunlight conditions.
- MPPT (Maximum Power Point Tracking): Can yield up to 20–30% more energy harvest, especially in cooler temperatures or partial shade.
Recommendation: For medium-to-large systems (>200W), consider MPPT for improved performance.
4.3 Battery Bank
Batteries store the electricity generated during sunny periods for later use.
- Flooded Lead Acid (FLA): Budget-friendly but require maintenance (checking water levels) and venting.
- AGM (Absorbent Glass Mat): Maintenance-free with good performance, often heavier and pricier than FLA.
- Lithium Iron Phosphate (LiFePO4): Higher upfront cost but lighter, deeper discharge capability, and longer lifespan.
Key Insight: If you’re boondocking for extended periods, lithium can provide significant long-term ROI despite higher costs.
4.4 Inverter
An inverter converts DC (from batteries) to AC (for appliances).
- Pure Sine Wave: Delivers clean power similar to grid electricity; ideal for sensitive electronics.
- Modified Sine Wave: Cheaper but can cause issues with certain devices (e.g., some chargers, laptops).
Practical Note: Choose an inverter sized to handle your largest expected load (e.g., microwave, Instant Pot).
5. Technical Diagrams: Wiring Configurations & Connection Details
Proper wiring is key to your system’s **performance** and **safety**. Below are standard wiring configurations and guidelines on wire gauge selection.
5.1 Series vs. Parallel Wiring
- Series: Increases voltage while keeping current constant. Useful for minimizing voltage drop in longer cable runs.
- Parallel: Keeps voltage the same but increases current. Helpful when partial shading is common or if you need higher current for certain charge controllers.
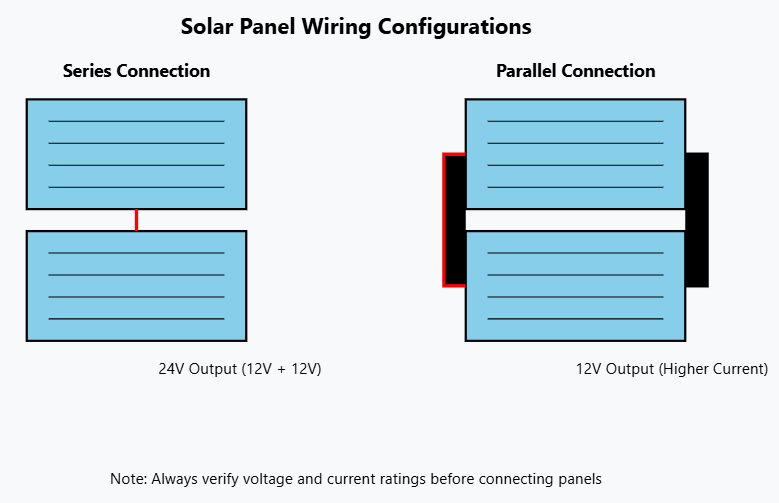
5.2 Wire Gauge & Connection Details
Choosing the right wire gauge reduces voltage drop and prevents overheating.
- For short runs (<10 ft), 14–16 AWG might suffice for moderate currents.
- For longer runs (>10 ft) or higher loads, 12–10 AWG is safer.
- Follow NFPA codes and local regulations.
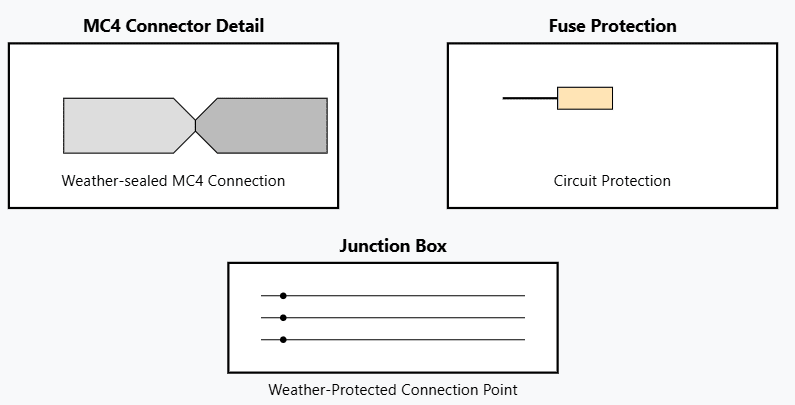
Note: Always confirm local electrical codes to ensure compliance and safety.
6. Installation Guide & Safety Checklist
A careful, methodical installation ensures **optimal performance** and **longevity**. Below is a high-level checklist—expand each step with photos or videos as needed.
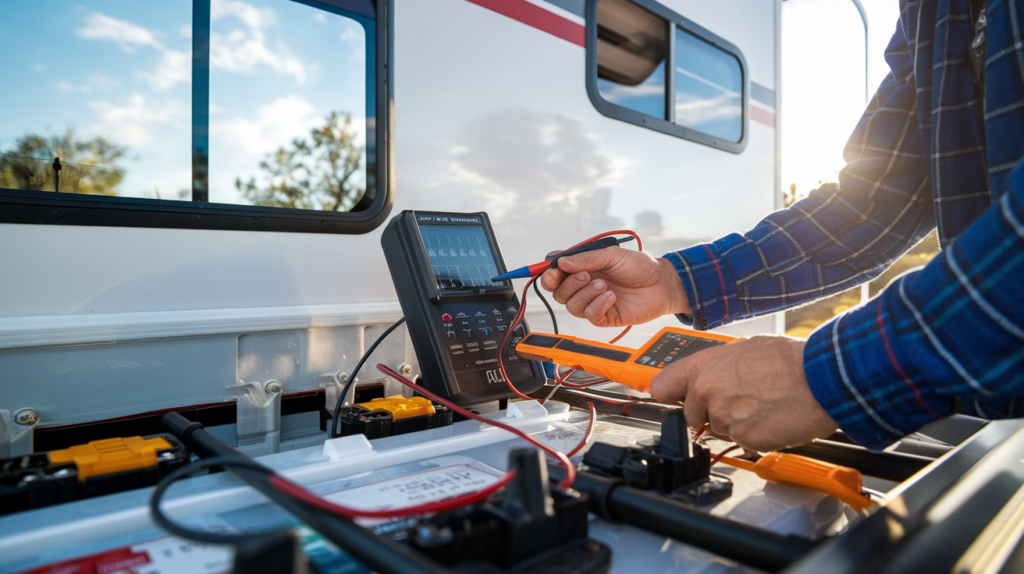
6.1 Pre-Installation Safety Checks
- Disconnect all power sources.
- Verify zero voltage with a multimeter.
- Clear metal objects from the work area.
- Keep a first aid kit ready.
- Review local codes (e.g., NEC, NFPA).
- Choose a dry, clear day for installation.
6.2 Required Tools
- Wire stripper/crimper, multimeter, drill + bits, MC4 tools
- Socket set, insulated screwdrivers, wire labels
- PPE: safety glasses, gloves, non-conductive footwear
- High-quality sealant for roof penetrations
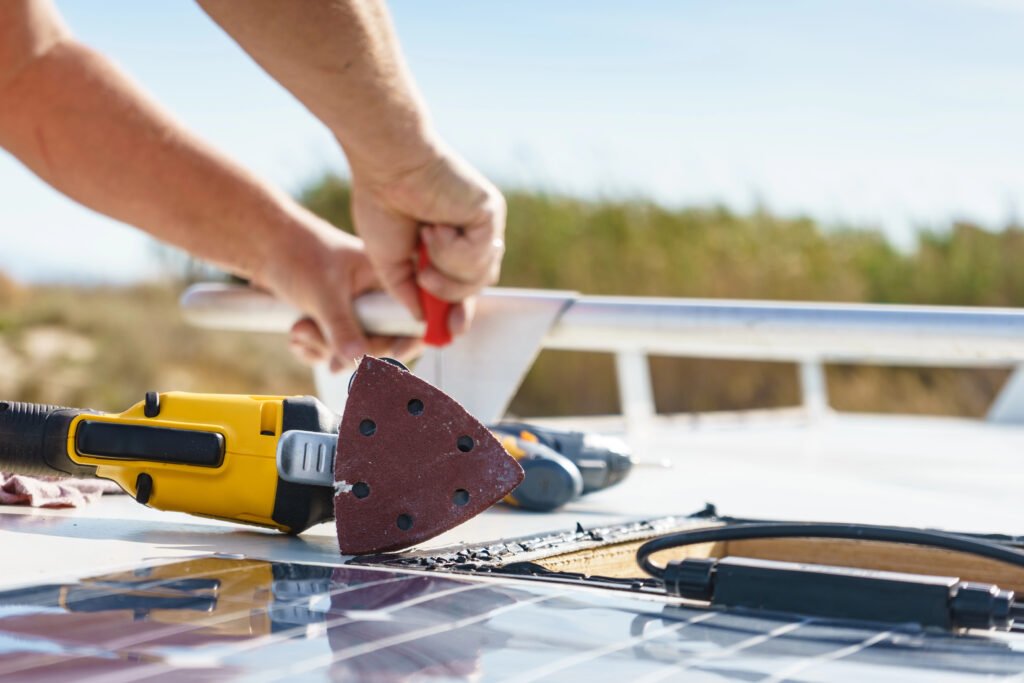
6.3 Installation Steps
1. Panel Mounting
- Mark mounting points; avoid drilling near wiring/plumbing.
- Pre-drill and apply sealant around screws.
- Secure panels firmly to prevent wind damage.
2. Wiring
- Plan wire routes and select proper AWG.
- Use weatherproof cable glands at roof entry.
- Double-check polarity before connecting to the controller.
3. Charge Controller
- Mount in a ventilated area.
- Connect batteries first, then panels.
- Set correct battery type and charging parameters.
4. Battery Installation
- Secure batteries in a ventilated compartment.
- Add a battery monitor (e.g., Victron BMV or similar).
- Ensure correct series/parallel connections if multiple batteries.
5. Inverter Setup
- Mount away from heat and moisture.
- Confirm proper cable size and overcurrent protection.
- Ground the system according to NFPA 70.
6.4 Safety Guidelines
- Electrical Safety: Never work on live circuits, and use insulated tools.
- Battery Safety: Ventilation is crucial; be ready to neutralize acid spills.
- Roof Safety: Use fall protection and check load capacity of your RV roof.
6.5 Testing & Commissioning
- Verify charge controller readings for voltage/current.
- Check inverter output and ensure it runs critical loads.
- Monitor battery charging stages (bulk, absorption, float).
- Test under load: run appliances and watch system performance.
6.6 Maintenance Schedule
- Monthly: Clean panels, inspect wiring, check battery voltage.
- Quarterly: Tighten connectors, test grounding, update firmware.
- Annually: Professional inspection, replace worn components, review performance logs.
For more on best practices, see OSHA and NFPA guidelines.
7. Maintenance & Troubleshooting
Consistent care extends system life and helps you catch small issues before they escalate.
7.1 Maintenance Schedule
1. Monthly
- Clean panels (dust, debris, bird droppings).
- Inspect wire connections for wear.
- Check battery health with a multimeter or monitor.
2. Quarterly
- Examine mounting brackets for rust.
- Clean battery terminals; ensure tight contacts.
- Test overcurrent protection (fuses, breakers).
3. Annually
- Schedule a pro inspection for overall health.
- Replace any damaged wiring or connectors.
- Update system documentation to reflect changes.
7.2 Common Issues & Solutions
1. Low Power Output
-
- Causes: Shading, dirty panels, battery inefficiency, loose connections.
- Diagnosis: Check panel voltage/current under load; examine battery state of charge.
- Solutions: Clean panels, tighten/replace corroded wires, replace failing batteries, check inverter status.
2. Intermittent Performance
-
- Causes: Variable sunlight, incorrect controller settings, fluctuating voltage.
- Diagnosis: Monitor logs; look for error codes; check shading patterns.
- Solutions: Update controller firmware, secure all wiring, reposition panels for better sun exposure.
Recommended Resource: NREL (2021) provides detailed troubleshooting guides for off-grid solar systems.

8. Resources & References
Stay current with evolving standards and technologies by consulting reputable organizations.
8.1 Online Resources
- U.S. Department of Energy – Solar Energy Technologies Office
- National Renewable Energy Laboratory (NREL)
- Occupational Safety and Health Administration (OSHA)
- National Fire Protection Association (NFPA)
- SolarReviews
8.2 Technical Documentation
- NREL Report on Renewable Energy System Integration
- U.S. Department of Energy – Solar Installation Guide
8.3 Reference Articles (APA)
- Smith, J., & Jones, A. (2020). Renewable energy integration in mobile systems. Journal of Renewable Energy Systems, 15, 45–59.
- U.S. Department of Energy. (2021). Solar energy technologies office. https://www.energy.gov/eere/solar/solar-energy-technologies-office
- National Renewable Energy Laboratory. (2021). Retrieved from https://www.nrel.gov
About the Author
Chuck Price is an entrepreneur with a keen focus on RV boondocking. Drawing on personal experience, Chuck has studied multiple RV solar systems that cater to different travel styles. His hands-on background reflects a passion for sustainable, innovative projects.
Disclaimer: This guide is intended for informational purposes only. Installing and maintaining an RV solar system involves electrical work that can be dangerous. Consult with a qualified electrician or solar professional before undertaking any installation or maintenance. The author and publisher assume no responsibility for any damages or injuries resulting from the use of this information. Always follow local electrical codes and safety guidelines.