
RV Insurance Claims – Roadmap for Success
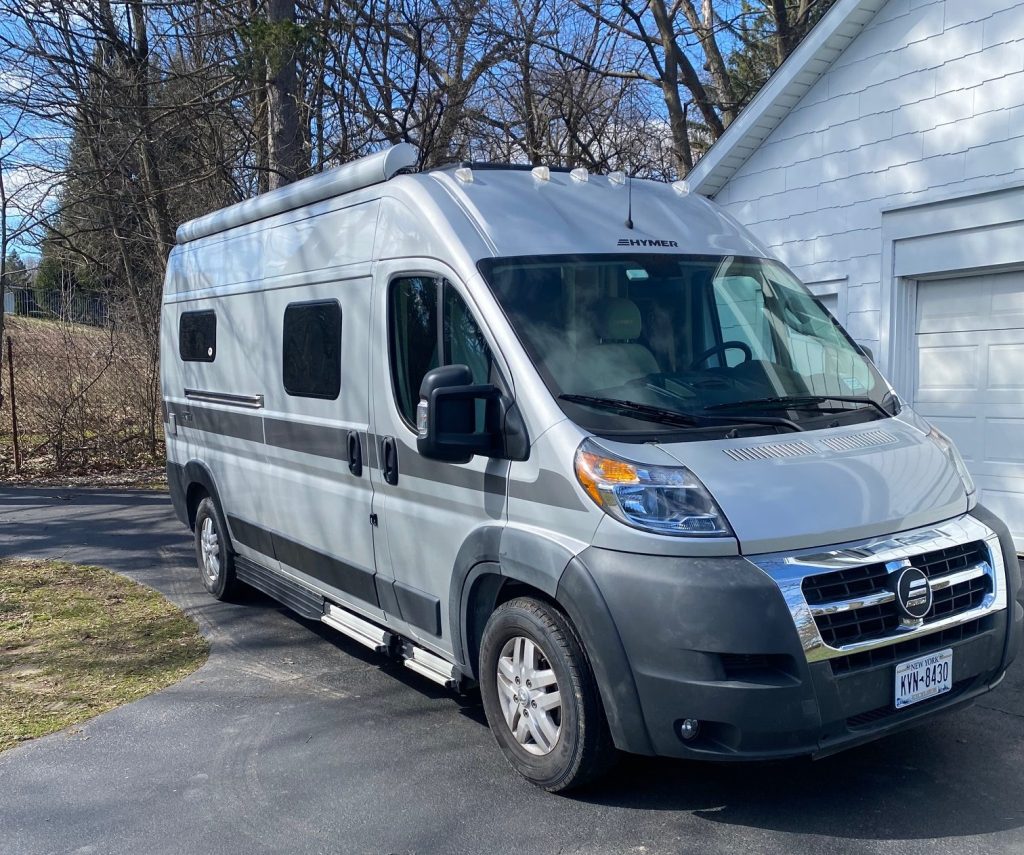
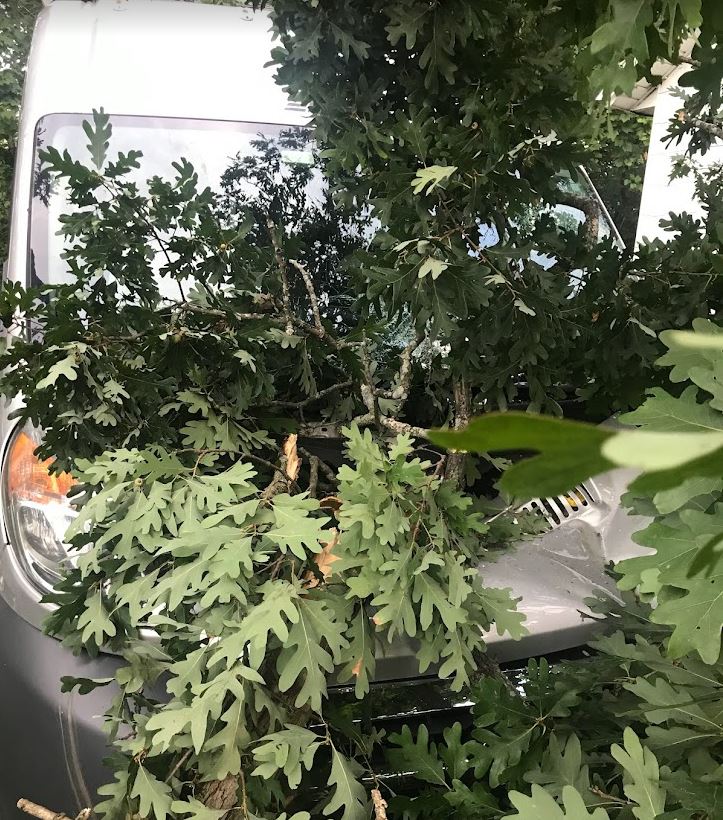
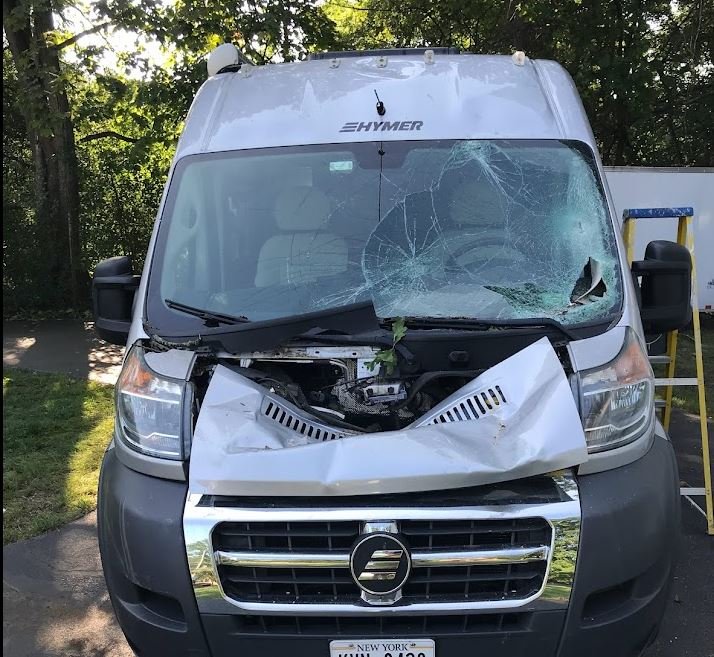
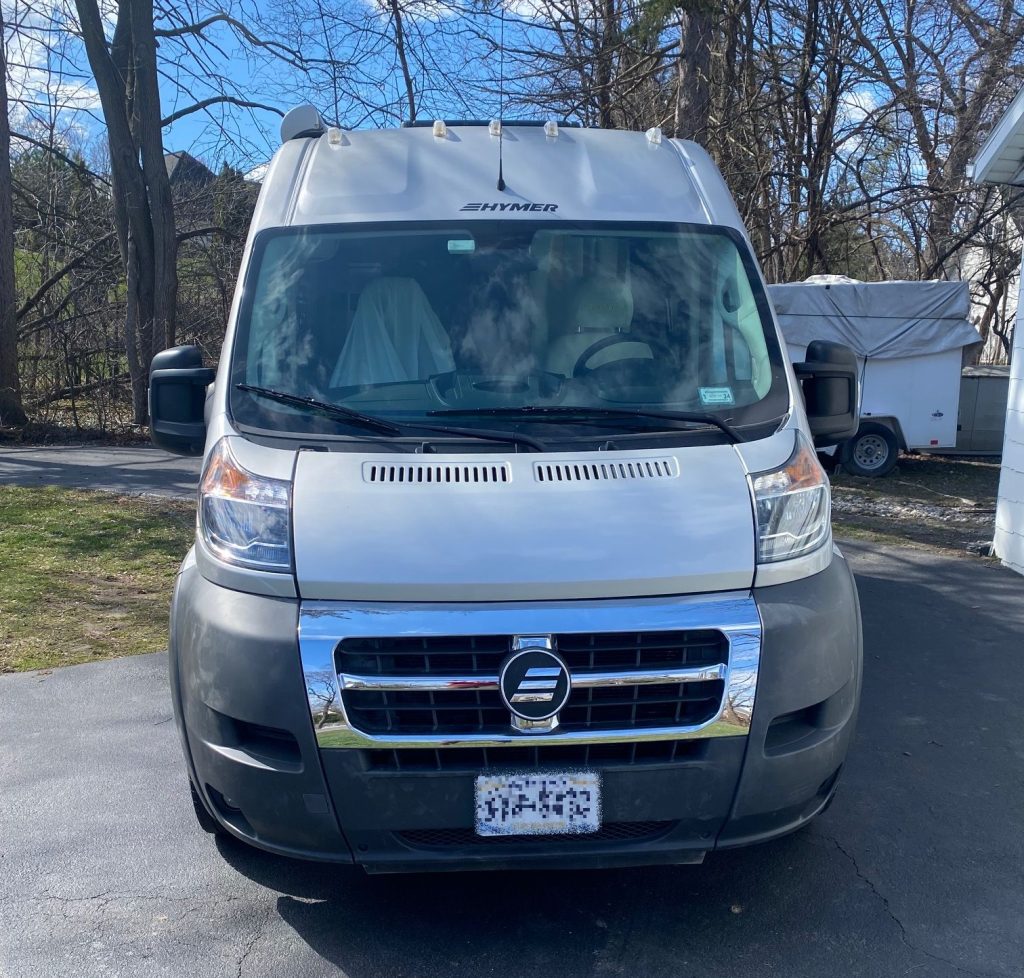
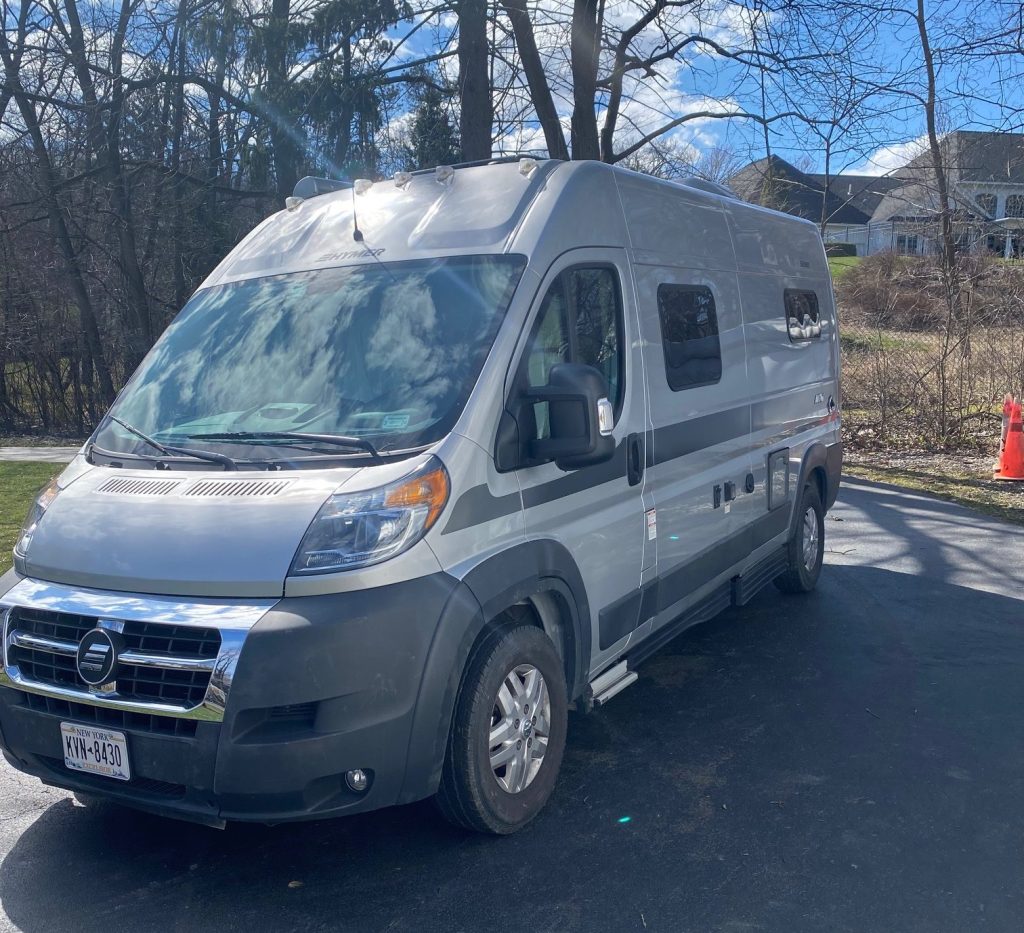
Every camping enthusiast dreads the thought of an insurance claim. It’s a double whammy: dealing with the insurance company and facing a damaged RV and disrupted travel plans. Unfortunately, I have firsthand experience in this area. A massive oak tree fell on my beloved 2018 Hymer Class B RV on August 8th, 2023. What followed was a grueling eight-month ordeal that finally ended on March 28th, 2024, with my RV fully restored to its pre-accident glory.
This guide, born from my experience, is designed to demystify the RV insurance claim process regardless of your insurance provider. Whether you have a cozy camper van or a full-size RV, this guide will equip you to handle a claim with confidence. So, let’s get you back on the road as quickly as possible!
Before the Storm: Peace of Mind
RV ownership is all about chasing sunsets and exploring new horizons. But unexpected events, like fallen trees or hailstorms, can disrupt those adventures. That’s where having solid RV insurance comes in. It’s your financial safety net, ensuring you can bounce back from a mishap and get back on the road quickly.
Actionable Steps for RV Insurance Preparedness:
- Understand Your Coverage: Don’t wait for a crisis to understand your policy! Carefully review your RV insurance documents. Identify coverage details like collision, comprehensive, trip interruption, and replacement value. If anything is unclear, contact your insurance provider for clarification.
- Get a Quote (or Two): Don’t settle for the first insurance company you come across. Shop around and compare quotes from different providers to ensure you’re getting the best coverage at a competitive rate.
- Consider Full Coverage: While basic liability insurance might seem sufficient, consider the potential financial burden of repairing or replacing your RV in the event of a serious accident. Full coverage, which typically includes collision and comprehensive, offers a more robust safety net.
- Inventory Your Belongings: Many RV insurance policies offer coverage for personal belongings within your RV. Create a detailed inventory list of your valuables, including electronics, camping gear, and other items. This documentation comes in handy during the claims process.
- Document Your RV’s Condition (Optional, but Highly Recommended): Take clear photos and videos of your RV’s exterior and interior, capturing its overall condition before any potential incidents. Store this documentation securely (e.g., cloud storage) for easy access in case of a claim.
By following these steps, you can ensure you have the proper RV insurance coverage and take proactive measures to streamline the claims process in case of an unfortunate event. This allows you to focus on getting back on the road and enjoying your RV adventures with peace of mind.
RV Insurance Claim: A Step-by-Step Guide
Hitting the Brakes: Initiating Your Claim
When disaster strikes, contacting your insurance company should be your top priority. Here’s how to get the ball rolling on your claim:
Actionable Steps for Initiating Your RV Claim:
- Contact Your Insurance Company Immediately: Don’t wait! The sooner you report the incident, the sooner the claims process can begin. Find the appropriate contact information in your policy documents (phone number, app, online portal).
- Gather Essential Information: Before you call, have some key details readily available:
- The date and location of the incident
- A brief description of what happened (be clear and concise, but include important details like weather conditions if relevant)
- Your policy number
- Any police report numbers (if applicable)
- Document the Damage: While you’re on the phone with your insurance company, take photos and videos of the damage to your RV from various angles. Capture close-up shots of any major damage and try to include surrounding landmarks or timestamps for verification.
- Follow Up with a Written Report: After your initial call, submit a formal written report to your insurance company. This report should reiterate the details you provided verbally and can include the photos and videos you documented.
By following these steps promptly, you’ll initiate the claims process efficiently and provide your insurance company with the necessary information to assess your claim quickly. This helps expedite repairs and get you back on the road faster.
Documentation: Your Best Friend
Staying organized is key to a smooth claim process. The more prepared you are, the less time you’ll waste chasing paperwork later. Here’s what you’ll need to gather to support your RV insurance claim:
Actionable Steps for Claim Documentation:
- Photo and Video Evidence:
- Pre-Incident Documentation (Optional but Highly Recommended): If you haven’t already, take clear photos and videos of your RV’s exterior and interior before any potential incidents. This establishes a baseline of its condition.
- Post-Incident Documentation: Immediately after the incident, capture comprehensive photographic and video evidence of the damage. Take close-up shots of all damaged areas, along with wider shots that show the overall extent of the damage. If possible, include timestamps or other visual cues to solidify the timeline of events.
- The Paper Trail:
- Police Report (if applicable): If the incident involved another party or occurred on public property, obtaining a copy of the police report is crucial.
- Proof of Ownership: Have your RV’s registration and title readily available for your insurance company.
- Maintenance Records: Gather your RV’s maintenance records to demonstrate a history of proper care. This can strengthen your claim.
- Repair Estimates (if obtained): If you’ve already received quotes from repair shops, include them in your documentation.
- Review Your Policy: Don’t forget to consult your specific insurance policy for any additional documentation requirements that might be applicable to your situation.
By following these steps and assembling a comprehensive documentation package, you’ll present a stronger case to your insurance company. This helps ensure a smoother claims process and a faster resolution.
 Photo by Tima Miroshnichenko
The Adjuster: Your Guide through Repairs
During the claim process, you’ll likely be assigned an adjuster – your point person who assesses the damage and determines the settlement amount. In my experience, it can take some time to schedule an initial inspection with the adjuster. My adjuster, Chris Lukas from Progressive (though yours will likely be different), was a busy professional, and it took about a week to coordinate a convenient time for him to inspect my RV.
Here’s what to expect when interacting with your adjuster:
- The Inspection: The adjuster will likely arrange to come out and personally inspect the damage to your RV. This allows them to assess the extent of the damage firsthand. Be prepared to answer questions about the incident and provide any additional information they might request.
- Documentation Review: Your adjuster will meticulously review all the documentation you submitted, including photos, videos, police reports (if applicable), and repair estimates (if you have them). Having a well-organized documentation package can expedite this process.
- Consulting Experts: For complex repairs, the adjuster might consult with specialists like mechanics or appraisers to determine the best course of action. This ensures a thorough and accurate assessment.
- Settlement Discussions: Once the adjuster has a complete picture of the damage, they’ll work with the insurance company to determine a fair settlement amount for repairs or, in extreme cases, total loss replacement. This might involve some back-and-forth communication, so be patient and advocate for yourself if necessary.
My Experience: In my case, after the inspection and discussions with his supervisor, Chris determined that repairs were the best course of action for my 2018 Hymer Aktiv, considering its book value of $90,000. This decision might differ based on the specifics of your situation and the severity of the damage.
By understanding the adjuster’s role and being prepared for the inspection process, you can ensure a smoother interaction and potentially expedite the claims process. Remember, the adjuster is there to help – don’t hesitate to ask questions and provide any additional information that you feel might be relevant to your claim.
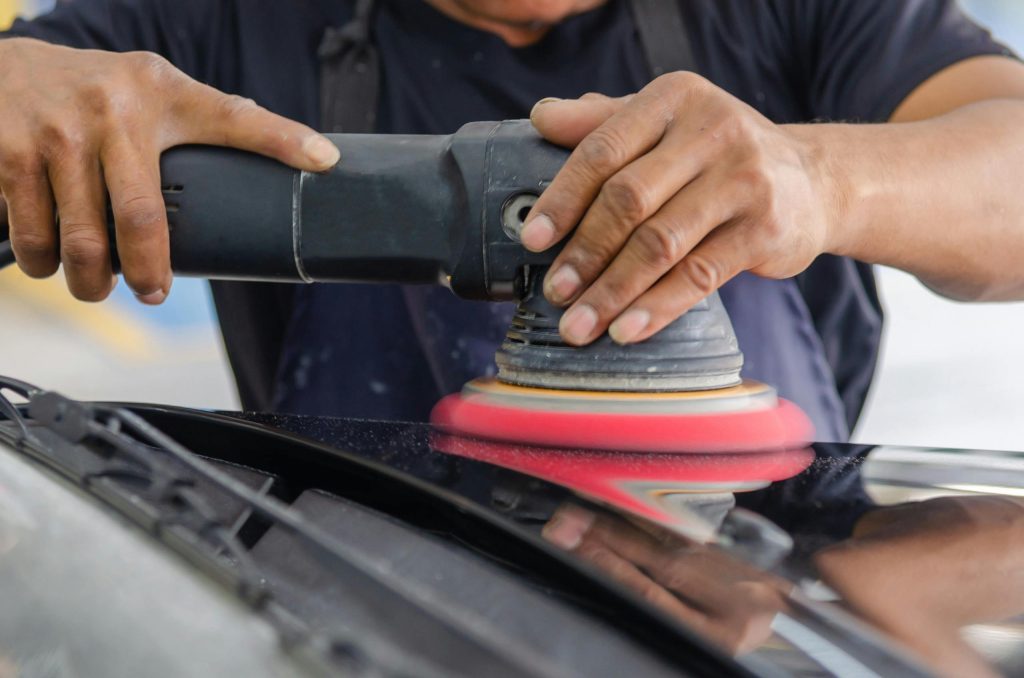
Photo by Khunkorn Laowisit
Getting Your RV Back on the Road
While you wait for the adjuster’s assessment, it’s wise to gather repair estimates from qualified RV repair shops. This helps establish a fair market value for the repairs and strengthens your negotiating position if needed.
Actionable Steps for Repair Estimates:
- Research Reputable Repair Shops: Look for shops with experience in RV repair. Online reviews, industry certifications, and recommendations from fellow RV owners can be helpful resources.
- Get Multiple Estimates: Don’t settle for the first quote you receive. Aim to get at least 2-3 estimates from different shops. This allows you to compare pricing and services offered.
- Be Clear and Detailed When Requesting Estimates: Clearly explain the damage to your RV and provide any photos or documentation that might be helpful for the repair shops to assess the situation accurately.
My Experience: Following this advice, I consulted with the most prominent RV dealer in the area for a recommendation on auto body repairs. The service manager highly recommended Green Island Auto Body, stating it was the only shop he trusted for his own RV. I was already familiar with Green Island’s reputation, and felt confident moving forward with them.
Since my situation involved both bodywork and RV-specific repairs, I needed a two-step approach. After Green Island completed the body repairs, my RV would move to Alpin Haus for servicing and repairs of RV-specific issues. I knew the Balmer unit controlling the electrical system was destroyed by the fallen tree, but Alpin Haus needed to inspect for any further damage.
Fortunately, the inspection revealed no additional damage beyond a faulty electrical system kicker battery, which was promptly replaced. However, a minor setback arose when the technician accidentally broke the refrigerator handle during the inspection process. Since this was a discontinued part, replacing it became the final hurdle before achieving a 100% resolution.
 Image by
 Negotiation and Settlement
Once the adjuster has a clear picture of the damage and repair costs, they’ll present you with a settlement offer. This is your opportunity to discuss the offer and negotiate if necessary.
Actionable Steps for Settlement Negotiation:
- Review the Settlement Offer Carefully: Don’t be afraid to ask questions if anything is unclear.
- Compare the Offer to Repair Estimates: See how the settlement offer stacks up against the estimates you obtained from repair shops.
- Present Your Case Calmly and with Evidence: If you believe the offer is too low, politely explain your reasoning. Highlight specific details from the repair estimates and emphasize your desire to restore your RV to its pre-accident condition.
- Be Prepared to Negotiate: It’s perfectly acceptable to negotiate the settlement offer. Focus on a fair resolution that covers the necessary repairs.
My Experience: While I didn’t get multiple repair estimates myself, I had open communication with Chris, the adjuster from Progressive. I expressed my confidence in Green Island Auto Body and Alpin Haus, and we discussed the critical aspect of fully restoring my RV to its pre-accident condition, exactly as it was on August 7th. Chris assured me these repairs would be completed through our conversation. This experience highlights the importance of advocating for yourself during the negotiation process. If you have trusted repair shops or specific concerns, don’t hesitate to bring them to the table. Present your information clearly and calmly, and a reputable insurance company will likely be receptive to your input. Following our conversation, Chris worked directly with Green Island and Alpin Haus to finalize the repairs.
Transparency in Staged Settlements
It’s important to understand that claim settlements might be issued in stages, especially if the full extent of the damage is initially unknown. In my case, Progressive initially issued a check for $20,524.33 on September 7th, 2023, to cover the known damage at that time. They assured me they would issue additional checks as more issues were discovered during the repair process. This can be unsettling for policyholders, so be sure to clarify how your insurance company handles staged settlements if this applies to your situation.
The Repair Journey
The repair process unfolded in stages, reflecting the two-step approach needed for bodywork and RV-specific repairs. Following the initial assessment, a further inspection at the body shop revealed additional damage. This resulted in a new check for $3264.57 issued on October 11th to cover these repairs. It’s important to note that I was responsible for my deductible of $2500, which I paid directly to the repair shop when the RV moved from Green Island Auto Body to Alpin Haus on January 4th, 2024. After Alpin Haus completed their repairs to the electrical system and other RV issues, I picked it up on January 19th, 2024. During this stage, two additional checks totaling $2146.94 were issued.
Financial Breakdown
In total, the repairs cost $28,435.84. Fortunately, my deductible of $2500 was the only out-of-pocket expense I incurred. This breakdown highlights the potential for additional costs to surface during the repair process, even after an initial assessment.
By sharing these details, I hope to provide a transparent picture of the potential back-and-forth during the negotiation and settlement phase, as well as how staged settlements might work.
Bump in the Road: Not Quite Out of the Woods Yet
My Experience
As you can imagine, I was thrilled to finally pick up my RV in January after spending a combined six months at the repair shops. Unfortunately, my excitement was short-lived.
Lingering Issues:
During my initial inspection, I discovered a few problems that hadn’t been addressed:
-
Broken Refrigerator Handle: The refrigerator latch was broken, and a piece was found on the floor. While the technician couldn’t explain how it happened, I suspect it broke during the inspection or winterization process.
-
Missing Running Light: One of the running lights was missing, and the dashboard light indicated the issue. It was concerning that neither repair shop noticed this during their inspections.
-
Inoperable Windshield Wiper: The driver’s side windshield wiper didn’t work, a crucial oversight considering the potential for bad weather.
-
Undocumented Bumper Damage: There was also minor, unaddressed damage on the front bumper.
Back to the Shop:
These issues required another round of repairs. The RV went back to the body shop on January 15th and was finally ready for pick-up on March 28th.
Outstanding Issue:
As of now, the broken refrigerator handle remains the only unresolved issue. The additional repair costs for these final fixes are still being determined between Green Island Auto Body and [Party responsible for additional repairs, likely Progressive].
Lessons Learned and Tips for Success
Action Steps for a Smooth RV Insurance Claim:
Looking back, my RV insurance claim journey offered valuable lessons that can benefit you too. Here are some key takeaways to equip your RV survival kit for a successful claim:
-
Communicate Openly and Honestly:
- Maintain clear and consistent communication with your insurance company throughout the claim process.
- Don’t hesitate to ask questions or seek clarification if anything is unclear.
- By keeping the lines of communication open, you can prevent misunderstandings and ensure everyone is on the same page.
-
Be Prepared with Documentation:
- Gather and organize all relevant documentation, including photos, videos, and paperwork, before initiating your claim.
- The more organized you are, the smoother the claim process will be.
- Consider this documentation your ally in building a strong case for a fair settlement.
-
Advocate for Yourself:
- If you believe the initial settlement offer doesn’t accurately reflect the cost of repairs, be prepared to negotiate.
- Conduct your own research, gather repair estimates from qualified shops, and present your case with confidence.
- Remember, you are the client, and your voice deserves to be heard.
-
Knowledge is Power: Understand Your Policy:
- Take time to familiarize yourself with your RV insurance policy and its coverage details beforehand.
- Knowing what is and isn’t covered can help you manage expectations and avoid surprises during the claim process.
- Educate yourself on the specifics of your policy to feel empowered when dealing with a claim.
Bonus Toolkit Tips:
-
Stay Calm and Collected: While dealing with RV damage can be stressful, maintaining composure will help you navigate the claim process more effectively. Take deep breaths and remember that this is a temporary setback.
-
Set Realistic Expectations:
- The claims process can take time. Be patient and understand that repairs might not happen overnight.
- Rushing the process can lead to mistakes and frustration. Trust the established timeline, and your RV will be back on the road before you know it.
-
Read and Understand the Fine Print:
- Take time to thoroughly read your RV insurance policy.
- Familiarize yourself with your coverage details, exclusions, and deductible amount to avoid misunderstandings down the road.
- Knowledge is power when it comes to insurance claims.
By following these action steps and learning from my experience, you can equip yourself with the knowledge and confidence to approach any RV insurance claim effectively. Remember, a little preparation and clear communication go a long way in ensuring a smooth claims process and getting your RV back on the road quickly.
Conclusion
Let’s face it, RV ownership is an investment, and just like any valuable asset, it needs proper protection. While encountering an RV mishap isn’t exactly part of the adventure plan, having a solid RV insurance policy and understanding the claim process can make a world of difference. It can transform what could have been a frustrating experience into a mere bump in the road. By following the steps outlined here and keeping my lessons learned in mind, you’ll be well-equipped to navigate an RV insurance claim with confidence. Remember, a little preparation can save you a lot of stress and ensure a smoother journey towards getting your RV back on the road, ready to chase new horizons. So, the next time you hit the open road, do so with peace of mind. Take the time to understand your RV insurance policy, document your RV’s condition, and don’t be afraid to ask questions. After all, by being proactive, you can ensure that unexpected bumps in the road don’t derail your RV adventures. Instead, they’ll be mere pit stops on your journey to making unforgettable memories with the freedom and flexibility that RV life offers. Safe travels, and may the open road treat you kindly!
RV Insurance Claim FAQs
Here are some quick answers to frequently asked questions about RV insurance claims:
-
How long does it typically take to process an RV insurance claim?
The timeframe can vary depending on the complexity of the claim and your insurance provider’s procedures. It typically ranges from a few days to several weeks (Source: Insurance.com, 2020). -
Will my premiums increase after filing a claim?
Not always. The impact on your premiums depends on the severity of the claim and whether you were found to be at fault (Source: Forbes, 2021). -
What if I disagree with the adjuster’s assessment?
You have the right to seek a second opinion. Some policyholders choose to hire an independent adjuster to get a fresh evaluation (Source: Nolo, n.d.).
Here are some additional tips for a smoother claims process:
- Know your policy coverage: Take time to understand what your RV insurance policy covers and what exclusions might apply.
- Gather documentation: Keep detailed records of your RV’s condition, including photos and maintenance logs. This can be helpful when filing a claim.
- Communicate clearly: Maintain open and honest communication with your insurance company throughout the claim process.
- Ask questions: Don’t hesitate to ask questions and seek clarification if anything is unclear.
By following these tips and being prepared, you can navigate an RV insurance claim with more confidence.
Recommended Resources for Further Reading:
- Good Sam Insurance Agency – RV Insurance Guide: This agency specializes in RV insurance and offers a comprehensive guide to understanding RV insurance claims.
- Progressive – RV Insurance Explained: Progressive is a well-known insurance provider that offers detailed information on RV insurance, including what to do when your RV is totaled.
- GEICO – RV Insurance Resources: GEICO provides a range of articles and FAQs specifically focused on RV insurance claims and policies.
- Allstate – RV Insurance Tips: Allstate offers a dedicated section on RV insurance, including tips on filing claims and understanding when an RV is considered totaled.
- Nationwide – RV Insurance Coverage: Nationwide provides an in-depth look at RV insurance options, including what happens when you need to file a claim for a totaled RV.